Skip to main content Skip to footer
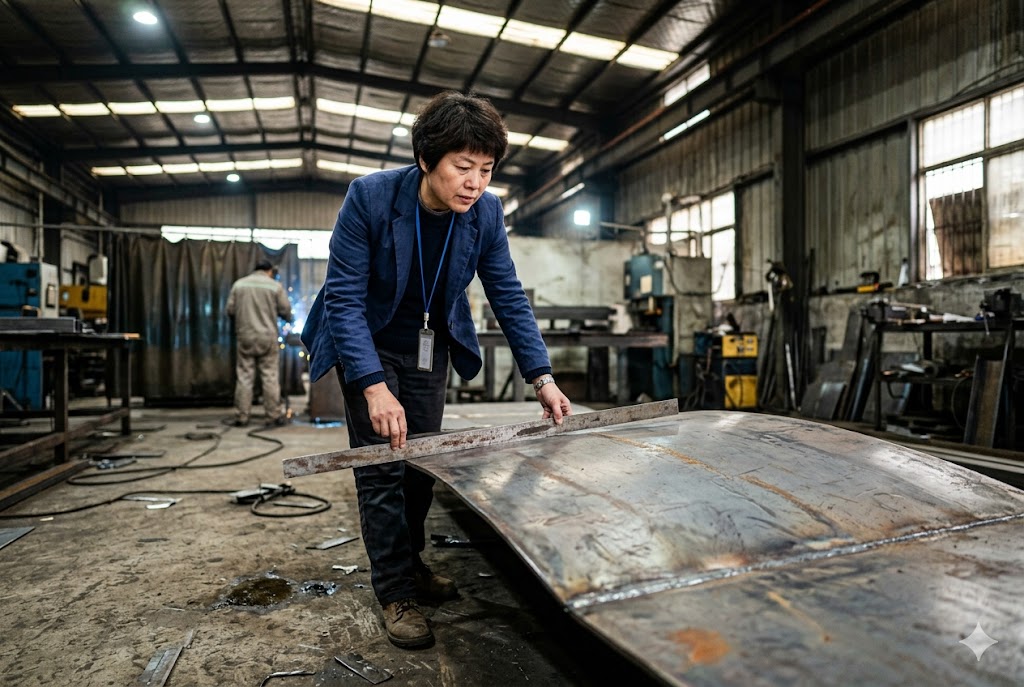
Every time our team reviews a rejected shipment, the root cause is almost always the same — distortion that no one planned for. Large welded assemblies are hard to get right, and when you are sourcing from China, the margin for error shrinks fast. The damage is not just dimensional. It is downstream production stoppages, rework costs, and strained supplier relationships.
Weld distortion in large sheet metal structures is controlled through a combination of design-level prevention, disciplined weld sequencing, rigid fixturing during welding, and documented inspection hold points at tacking, post-weld, and post-correction stages. No single technique is enough on its own — all four layers must work together.
The good news is that most distortion problems are predictable and preventable. Here is what you need to know before your next order goes into production.
Why Do Large Welded Sheet Metal Parts Warp During Production, and How Can I Prevent It?
Sheet metal does not lie flat after welding by accident. Every weld you add puts heat into a small zone and then lets it cool — and metal that shrinks unevenly pulls the whole structure out of shape. When we plan production sequences for large panel assemblies, our first question is always: where is the heat going, and in what order?
Large welded sheet metal parts warp because localized heating and rapid cooling create uneven shrinkage stresses across the joint. The metal near the weld contracts more than the surrounding base material, pulling the structure out of flat. Distortion grows with weld volume, heat input, and the number of welds concentrated in one area.

The Four Types of Distortion You Will See
Understanding which distortion type you are dealing with tells you which fix applies. Getting this wrong wastes correction time and can make the problem worse. The four principal types of weld distortion 1 — transverse shrinkage, longitudinal shrinkage, angular distortion, and buckling — each arise from a distinct combination of heat input and joint geometry.
| Distortion Type | What It Looks Like | Primary Cause |
|---|---|---|
| Transverse shrinkage | Joint gets narrower across the weld | Weld metal contracting perpendicular to seam |
| Longitudinal shrinkage | Part gets shorter along the weld | Weld metal contracting along the seam length |
| Angular distortion | Flanges or plates tilt toward the weld face | Uneven shrinkage through the joint thickness |
| Buckling / wave distortion | Thin panels develop wavy, oil-can surface | Compressive stress in thin base material around weld |
Transverse and longitudinal shrinkage distortions are the most damaging — and the most misunderstood. These two cannot be corrected after welding. They can only be compensated for by building allowances into the blank size before the first cut. If your supplier has not accounted for this in their flat-pattern layout, every unit will be consistently short in the weld direction. That is a drawing problem, not a weld problem.
Why Weld Volume Is the Root Variable
More weld metal means more shrinkage. More shrinkage means more distortion force. This sounds obvious, but it drives a counterintuitive design decision: the single most cost-effective thing you can do to reduce distortion is to reduce weld volume before the drawing is released to production.
That means:
- Use the minimum fillet weld 2 size the joint actually needs — not a larger one for visual appearance
- Specify stitch welds instead of continuous seams where structural requirements allow
- Keep welds away from each other so heat zones do not overlap
- Locate welds on or near the neutral axis of the cross-section so the shrinkage force has a shorter lever arm
How Weld Sequence Prevents Progressive Heat Buildup
The order in which welds are made is just as important as where they are placed. For large flat panel structures, our engineers always weld from the center outward — never from one end straight to the other. Starting from one end lets heat accumulate progressively, and by the time the final welds are made, the far end has already locked in a curve.
For symmetrical assemblies, alternate weld passes on opposite sides of the neutral axis. Each weld's contraction force is then partly countered by the next pass on the opposite side. This applies to multi-pass welds on thick joints too — alternate sides between passes rather than completing one side before starting the other.
Distortion control by fabrication techniques 3 such as backstep welding is one of the most effective zero-cost approaches for long seams. The seam is divided into short segments. Each segment is welded in the direction opposite to the general weld progression. Heat distributes more evenly because you are never building on a fully hot zone. The right segment length must be determined on first articles and documented in the Welding Procedure Specification (WPS) — too many short segments can sometimes increase distortion if the segment length is poorly chosen.
Key Prevention Techniques at a Glance
| Technique | How It Prevents Distortion | Best For |
|---|---|---|
| Backstep welding | Breaks up progressive heat accumulation | Long butt seams and long fillet seams |
| Center-outward sequence | Prevents one-directional heat lock-in | Large flat panel structures |
| Symmetrical alternating passes | Balances shrinkage forces across neutral axis | Symmetrical box sections, beams |
| Stitch welding | Reduces total weld volume and heat input | Non-structural or lightly loaded seams |
| Pre-camber (reverse deformation) | Parts are pre-set opposite to expected distortion | T-joints, butt welds, beam structures |
Pre-setting, pre-bending, and the use of restraint 4 deserve their own mention. Components are deliberately positioned slightly out of alignment — in the direction opposite to the expected weld shrinkage — before welding begins. When the weld cools and contracts, it pulls the assembly back into correct geometry rather than away from it. The pre-set amount must be validated on first articles and recorded in the assembly procedure. It is not a guess — it is a measured value derived from first-article data or FEA simulation.
What Design Changes Can I Make to Reduce Welding Distortion Before I Finalize My Drawing?
The design review stage is where distortion is either built in or designed out. By the time parts reach the shop floor, you are already managing consequences. Our engineering team spends more time reviewing joint locations and weld call-outs on a drawing than we do correcting distortion in production — because one hour at the drawing stage saves ten hours at the press.
The most impactful design changes for reducing weld distortion are: minimizing total weld volume, locating welds on or near the neutral axis, avoiding weld accumulation in one zone, and specifying stitch rather than continuous seams wherever structural requirements allow. These decisions cost nothing to make but determine the entire distortion challenge the fabricator must solve.

Joint Design: Where the Battle Is Won or Lost
Joint selection drives heat input. Heat input drives shrinkage. Shrinkage drives distortion. The chain starts at the joint. Applying best practice principles to limit distortion during design 5 is the single highest-leverage intervention available before fabrication starts.
A double-sided fillet weld on a T-joint — with balanced passes on both sides — produces far less angular distortion than a single-sided fillet of the same total throat size. The reason is simple: the contraction forces on both sides partially cancel each other out. Whenever the structure allows access to both faces of a joint, double-sided welding should be specified.
Groove geometry matters too. A V-groove requires more weld metal than a J-groove for the same joint thickness. More weld metal means more shrinkage. For thick sections where groove welding is unavoidable, a J-groove or U-groove preparation — machined rather than flame-cut — reduces the weld volume and therefore the distortion force.
Where Not to Put Welds
| Design Rule | Why It Matters | What to Do Instead |
|---|---|---|
| Do not concentrate welds in one zone | Overlapping heat zones create additive shrinkage forces | Spread welds across the structure |
| Do not weld far from the neutral axis | Long lever arm amplifies angular distortion effect | Move joint location closer to the centroid |
| Do not use continuous seams where stitch is structurally sufficient | Continuous seams add unnecessary weld volume and heat | Specify stitch pitch and length on the drawing |
| Do not stack welds on the same side of a section | One-sided welding creates unbalanced shrinkage moments | Balance with welds on the opposite side |
Specifying Tolerances That Are Actually Achievable
One of the most common errors we see on drawings is flatness or perpendicularity tolerances that are tighter than the welding process can reliably hold — with no post-weld correction or stress relief specified. The tolerance and the process must be matched. Understanding which factors — including parent material properties, restraint, joint design, and welding procedure — affect the degree of distortion 6 is essential when setting achievable tolerance targets on drawings.
As a general rule for MIG/MAG welded carbon steel assemblies without post-weld correction:
- Flatness: ±1.5 mm per 1000 mm span is achievable with good fixturing and sequencing
- Angular distortion at T-joints: 1–2° without correction measures, 0.5° or less with pre-camber and fixture
If your drawing requires tighter values than this, you must specify the correction method — flame straightening, mechanical pressing, or post-weld machining — on the drawing or in the accompanying inspection plan. Do not assume the supplier will add correction steps that are not specified and paid for.
FEA Before First Production Run
For complex or high-value structures, FEA simulation of weld distortion before the first production run is cost-effective. FEA predicts heat flow and distortion patterns based on joint design, weld sequence, material properties, and fixturing conditions. It allows design and procedure adjustments before steel is cut. A 30% or more reduction in distortion is achievable by combining FEA-informed sequence optimization with fixture design changes. For assemblies sourced from China with tight flatness or perpendicularity requirements across large spans, commissioning a FEA distortion analysis from a third-party engineering firm before issuing production drawings is a legitimate risk mitigation step.
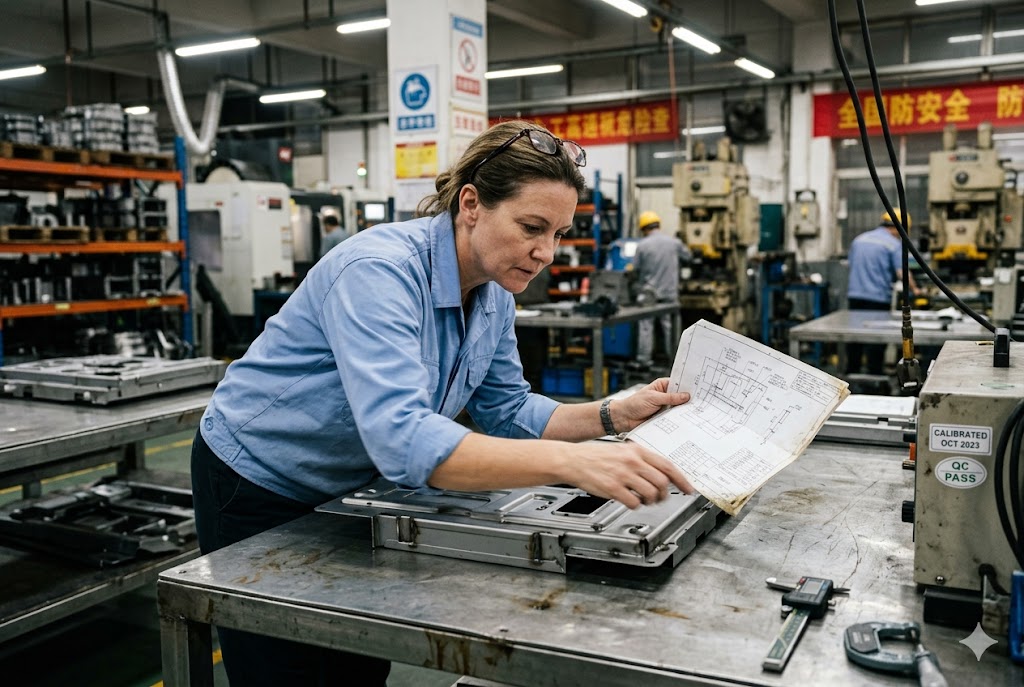
How Can I Confirm Whether My Supplier Has the Right Fixtures and Jigs to Hold Tolerances?
Fixtures are not optional for large welded assemblies. Without rigid clamping and proper datum control, even a perfect weld sequence will not hold geometry. When we audit suppliers for large structural work, the fixture setup is the first thing we look at — not the welding machines.
A supplier capable of holding tight tolerances on large welded sheet metal assemblies will have dedicated fixtures with defined datum points, documented tack-weld sequences, and a process for checking part geometry after tacking and again after full welding. If a supplier cannot describe their fixturing approach in specific terms, they are not in control of their distortion.

What a Proper Fixture Looks Like
A production-grade welding fixture for large assemblies does several things at once. It locates all components to a defined datum reference frame. It applies clamping force evenly and symmetrically. It allows access for welding without repositioning the part mid-sequence. And it survives repeated use without losing its own dimensional accuracy.
Improvised fixtures — angle iron tacked to a flat table, or C-clamps on a layout plate — are not production fixtures. They shift with heat, they wear, and they cannot be calibrated. If a supplier shows you these during an audit, it is a red flag for any assembly with flatness requirements tighter than ±2 mm per 1000 mm.
Questions to Ask During a Supplier Audit
During a factory visit or pre-production audit, ask these questions directly. The answers tell you whether the supplier has a controlled process or is managing distortion by eye and experience alone.
| Audit Question | What a Good Answer Sounds Like | Red Flag Answer |
|---|---|---|
| "Show me the fixture drawing for this assembly." | They produce a dimensioned fixture drawing with datum callouts. | "We use a flat table and clamps." |
| "How do you verify the fixture is still within tolerance?" | Periodic calibration check against a master reference, logged. | "We check it visually." |
| "What is your tack-weld sequence for this part?" | Specific sequence documented in the assembly procedure. | "The welder decides on the day." |
| "Do you check dimensions after tacking, before full welding?" | Yes — with a documented hold point and acceptance criterion. | "We check the finished part." |
| "What residual stress treatment do you perform before machining?" | Furnace stress relief at documented temperature and soak time. | "We do not machine this part." / No answer. |
Fixturing and Residual Stress: The Hidden Risk
Heavy fixturing during welding restores and maintains geometry — but it transfers distortion forces into residual stress rather than eliminating them. A part that looks perfect when released from the fixture can spring back as internal stresses redistribute during subsequent machining or in service.
For assemblies that will be machined after welding, post-weld heat treatment (PWHT) 7 before machining is mandatory, not optional. Furnace stress relief for carbon steel — typically 550–650°C, holding for one hour per 25 mm of section thickness, then controlled cooling — reduces residual stresses by 50–80%. Without it, residual tensile stresses in the heat-affected zone redistribute during machining, causing the machined surface to drift out of tolerance after the cut is completed. The part measures correct right after the cut and fails the next inspection.
This is a common failure mode in China-sourced welded and machined assemblies. Specify stress relief explicitly in your drawing notes and verify it with a heat treatment certificate on every batch.
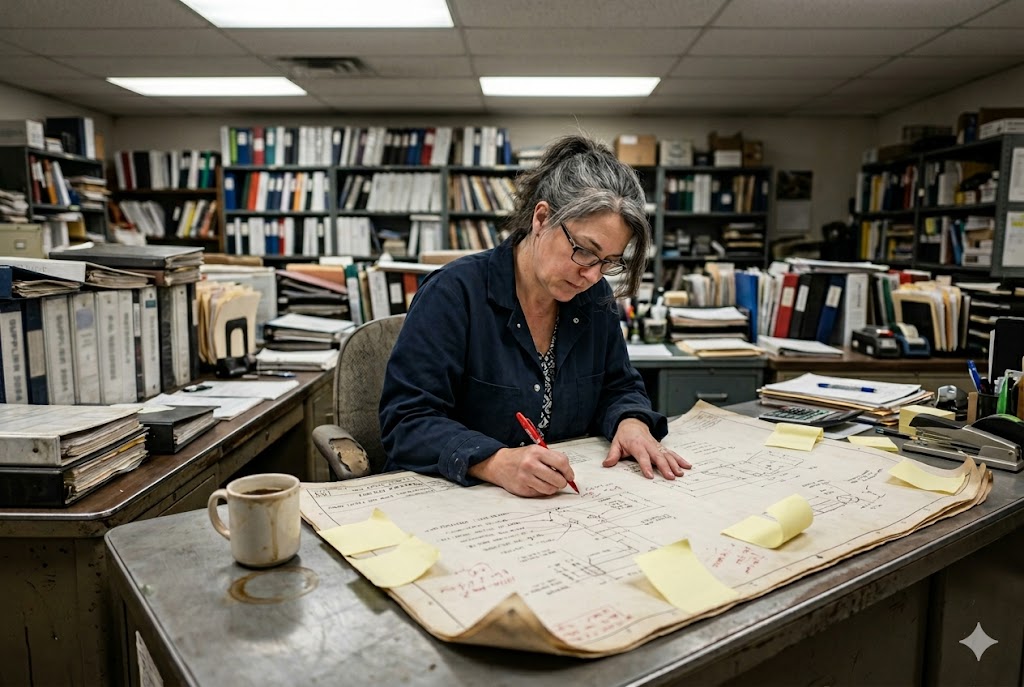
What Should I Check in My Inspection Report to Catch Distortion Before Shipment?
An inspection report that only shows final dimensions is not enough. By the time a part is finished, corrected, and ready to ship, the process record has been lost. If the dimensions pass, you have no way of knowing whether the supplier has a controlled process or a skilled straightening team. Our inspection plans always require three measurement stages — not one.
A complete distortion inspection record for a large welded sheet metal assembly must include dimensional checks at three stages: after tacking (before full welding), after full welding (before any correction), and after all correction operations are complete. A supplier who provides only final dimensions cannot demonstrate process control — only that they can straighten bent parts.

The Three-Stage Inspection Hold Point Structure
Each stage catches a different type of problem. Skipping any stage leaves a blind spot.
Stage 1 — After tacking, before full welding. At this point the assembly is held in the fixture but not yet fully welded. A dimensional check here tells you whether the fixture is locating parts correctly and whether the tack sequence is introducing early distortion. If the assembly is already out of tolerance at tacking, the full weld sequence will make it worse, not better. This is the cheapest point at which to catch and correct a setup problem.
Stage 2 — After full welding, before correction. This is the most important stage for process improvement. The as-welded dimensions tell you the true distortion output of the welding process — sequence, heat input, and fixture performance combined. If you skip this stage and the supplier corrects the part before measuring, you have lost the diagnostic data. You cannot improve the process if you cannot see what the process produced.
Stage 3 — After all correction, before shipment. This is the final acceptance check. All critical dimensions, flatness, parallelism, and perpendicularity are verified against the drawing tolerances. This stage is necessary but not sufficient on its own.
What Dimensions to Specify in the Inspection Plan
Your inspection plan should list every critical dimension explicitly. Do not leave it to the supplier's judgment. For large welded assemblies, the minimum check list should include:
- Overall length, width, and height at specified datum references
- Flatness of primary reference surfaces (measured over the full span, not just at corners)
- Perpendicularity of mating faces or attachment features
- Hole-to-hole or slot-to-edge position where the assembly connects to downstream components
- Any weld bead geometry requirements (fillet size, undercut, surface porosity) per the applicable welding procedure specification (WPS) 8
Correction Methods and Their Limits
If Stage 2 shows distortion outside tolerance, the supplier must correct before Stage 3. There are three primary correction methods. Each has limits that must be understood.
Mechanical pressing. Hydraulic or pneumatic presses, or controlled hammering, push distorted geometry back into tolerance. Suitable for ductile carbon steel and aluminum. Not suitable for hardened steels, high-strength stainless, or work-hardened materials where pressing risks cracking.
Flame straightening. Localized heating creates controlled expansion and subsequent contraction. The FHWA Guide for Heat-Straightening of Damaged Steel Members 9 documents the temperature limits, heating patterns, and sequence controls needed to straighten structural steel reliably without degrading mechanical properties. Spot heating corrects buckling in thin sheet. Line heating along the joint face opposite the weld corrects angular distortion. Wedge-shaped heating patterns address complex compound distortion in fabrications. Flame temperature must be controlled carefully — too high degrades mechanical properties in the heat-affected zone, too low achieves nothing.
Combination. Large complex assemblies often require both methods in sequence: mechanical pressing for gross distortion, flame straightening for fine correction.
The correction method used and the pre-correction measurements must be recorded in the inspection report. A report that shows only final dimensions, with no record of what was corrected and by how much, is not an acceptable quality record. These inspection requirements should align with the AISC guidance on Welding Procedure Specifications 10 for structural steel fabrication, which establishes what documentation a controlled welding process must produce.
Conclusion
Weld distortion in large sheet metal structures is predictable and manageable — but only if you control it at every stage: design, sequence, fixturing, and inspection. Specify your requirements clearly in the WPS, drawing, and inspection plan. Then verify them.
Footnotes
1. Covers the four principal types of welding distortion and their root causes in arc-welded fabrications. ↩︎
2. Explains fillet weld geometry, joint types, and the significance of leg and throat dimensions. ↩︎
3. Describes fabrication techniques — including backstep welding and tack sequencing — used to control weld distortion. ↩︎
4. Details pre-setting and pre-bending methods that offset expected weld shrinkage before fabrication begins. ↩︎
5. Provides best-practice design principles for limiting distortion before arc-welded structures enter production. ↩︎
6. Summarises how parent material, restraint, joint design, and welding procedure each influence final distortion magnitude. ↩︎
7. Explains the PWHT process, required temperatures, and how it relieves residual stresses in welded components. ↩︎
8. Defines what a Welding Procedure Specification is and the code requirements it must satisfy for production welding. ↩︎
9. FHWA technical guide covering heat-straightening temperatures, heating patterns, and limits for structural steel. ↩︎
10. AISC guidance on WPS qualification tests, essential variables, and documentation requirements per AWS D1.1. ↩︎