Skip to main content Skip to footer
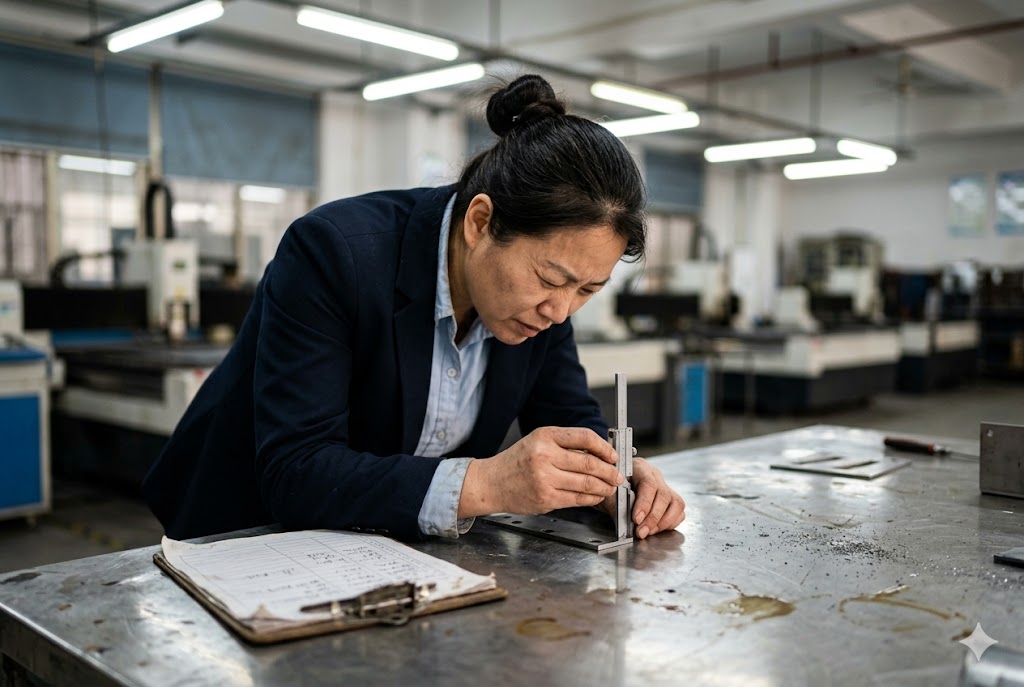
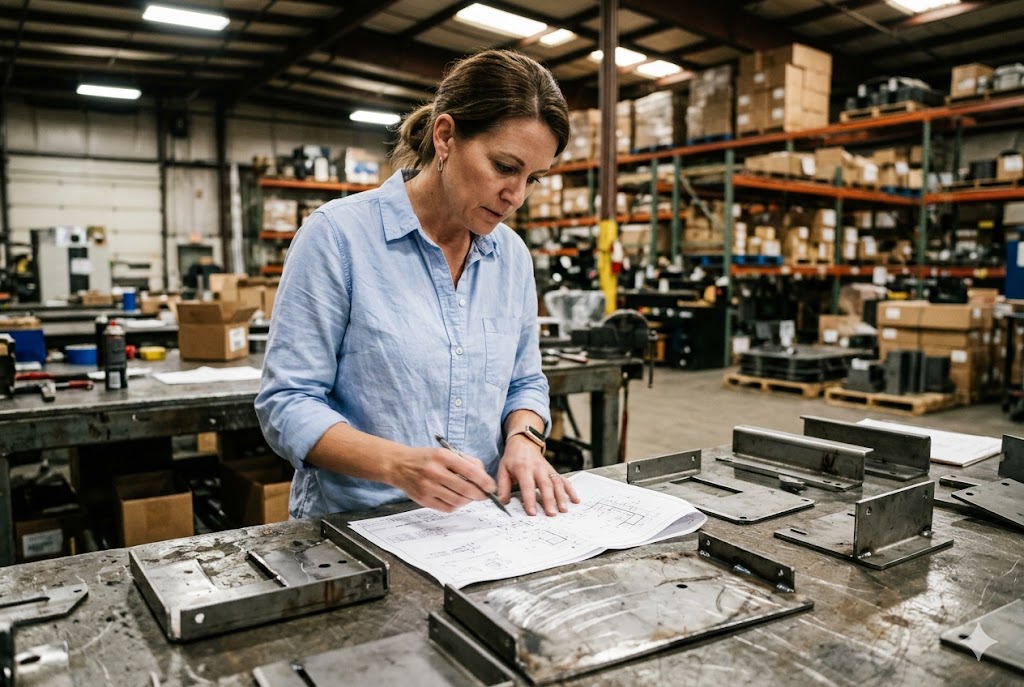
We see it repeatedly in our supply chain work: buyers send drawings with a note that says "clean edges, no burrs" — and then receive parts that technically pass that language but fail in assembly. Vague edge quality language costs you money. It causes rework, delays, and disputes that are hard to resolve without written standards.
Laser cut edge quality on sheet metal from China can be controlled by specifying five characteristics: perpendicularity, surface roughness (Rz), burr height, dross adhesion, and heat-affected zone width. Reference ISO 9013 for graded tolerance ranges, set numerical limits per material and thickness, and include measurement methods in your acceptance criteria.
Once you have a clear framework, the rest becomes a documentation exercise. The sections below walk through each part of that framework in practical terms.
What Burr and Heat-Affected Zone Levels Are Acceptable for My Application?
Our team handles pre-shipment inspections across dozens of sheet metal suppliers in China, and burr limits are among the most disputed items we encounter. Without a number on the drawing, every inspector has a different threshold — and so does every supplier.
Acceptable burr height for most sheet metal applications is 0.1mm or less measured below the cut face. For edges adjacent to seals, electronics, or human contact, specify zero burr verified by fingernail drag test. Heat-affected zone width should be 0.3mm or less for parts welded or fatigue-loaded within 5mm of the cut edge.

Why Burr Height Matters Beyond Safety
A 0.2mm burr on a gasket mating surface prevents a leak-free seal. A burr on an aluminum enclosure edge causes laceration risk during handling. The acceptable limit is not universal — it depends on what that edge does in your assembly. Start by classifying every cut edge on your part into one of three functional categories.
| Edge Category | Function | Maximum Burr Height |
|---|---|---|
| Structural / non-contact | Frame, bracket, non-sealing | ≤ 0.15mm |
| Assembly mating surface | Flanges, locating edges, gasket seats | ≤ 0.1mm |
| Human contact / safety-critical | Handles, panels, exposed edges | Zero burr (drag test) |
Heat-Affected Zone: When Does It Actually Matter?
The heat-affected zone (HAZ) 1 is a band of thermally altered metal next to the cut. Fiber lasers produce a narrow HAZ — typically under 0.3mm on steel under 6mm. For most structural parts, this is irrelevant. It becomes a problem in two scenarios:
- Welding near the cut edge — HAZ metal has altered grain structure. Welding into it can reduce joint strength and introduce porosity.
- Fatigue-loaded parts — HAZ creates a stress concentration zone. For dynamically loaded components, specify HAZ width as a controlled characteristic on your first article inspection.
HAZ Limits by Application
| Application | HAZ Limit | Verification Method |
|---|---|---|
| Standard structural parts | No contractual limit | Not required |
| Parts welded within 5mm of edge | ≤ 0.3mm | Metallographic cross-section, first article |
| Fatigue-loaded components | ≤ 0.2mm | Cross-section, sampled per batch |
| Stainless steel — corrosion-critical | Specify nitrogen assist gas | Visual: oxide-free edge appearance |
A Note on Dross vs. Burr
These are different defects. Burr is residual parent material below the cut face — it can often be removed by deburring. Dross is resolidified molten material fused to the bottom edge — it is harder than the parent material and cannot be removed by standard deburring. If your supplier is sending you dross, that is a process parameter failure, not an inspection issue. It means their assist gas pressure, focal point, or feed rate is wrong. Require a documented corrective action, not just rework.
How Should I Define Edge Quality Requirements on My Drawing or Quality Checklist?
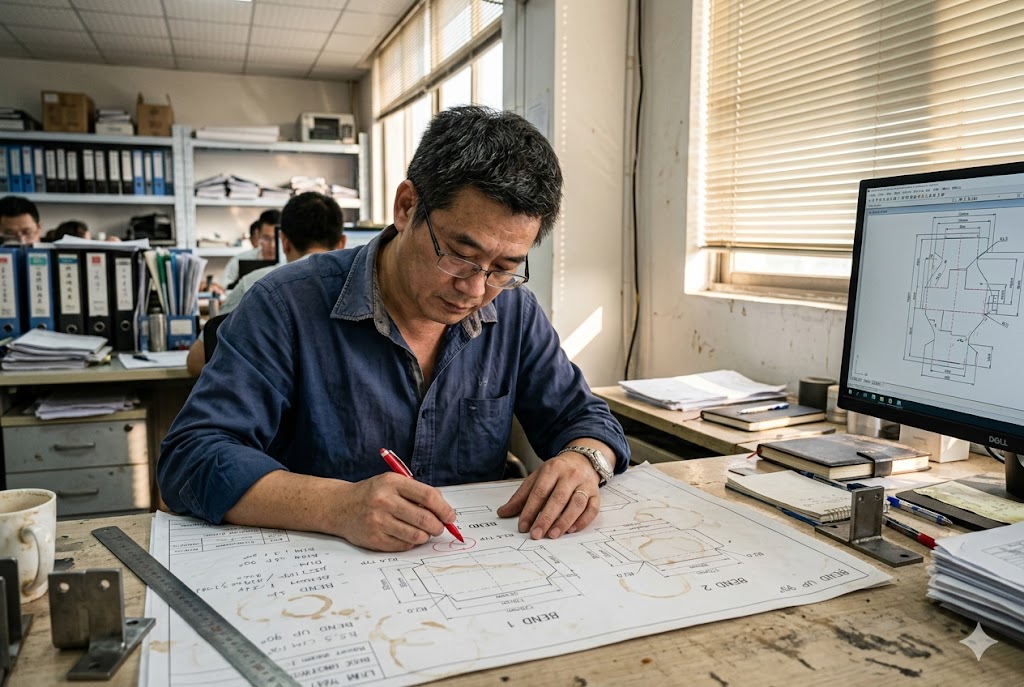
In our experience coordinating quality control between US buyers and Chinese sheet metal factories, we find that drawing notes are the most frequently ignored documents on the shop floor — unless they reference a recognized standard and include a number. A note that says "good edge quality" does nothing.
Define edge quality on your drawing by referencing ISO 9013 with a specified grade, adding a numerical limit for each characteristic (perpendicularity, Rz, burr, dross), and indicating the measurement method. Include a material-thickness matrix in your quality checklist when your order covers multiple materials or gauges.

ISO 9013: Your Reference Standard
ISO 9013 2 covers thermal cutting quality — including laser cutting — and defines graded tolerance ranges for perpendicularity and surface roughness. Using it gives you a shared technical language that your Chinese supplier's engineering team already knows. You do not need to write a bespoke specification from scratch.
The standard defines:
- Perpendicularity grades 1–5: Grade 1 is tightest, Grade 5 is loosest. For most commercial work, Grade 3–4 is the baseline. For functional mating or locating edges, specify Grade 2.
- Roughness grades 1–4: Based on Rz (not Ra — note this distinction). Grade 3 is a practical baseline for structural edges. Grade 2 for sealing or sliding surfaces.
Reference the standard by name and grade number in your PO terms and on the drawing title block. Do not paraphrase it. Paraphrasing introduces ambiguity that suppliers will use in disputes.
Numerical Limits to Call Out Explicitly
| Characteristic | General Edges | Functional Edges | Measurement Tool |
|---|---|---|---|
| Perpendicularity (u) | ≤ 0.2mm per 10mm thickness | ≤ 0.1mm per 10mm thickness | Calibrated angle gauge or CMM |
| Surface roughness (Rz) 3 | ≤ 50μm | ≤ 25μm | Contact profilometer |
| Burr height | ≤ 0.1mm | Zero burr (drag test) | Burr height gauge |
| Dross | Loose slag acceptable | Zero dross at 10× visual | 10× loupe or magnifier |
| HAZ width | No limit | ≤ 0.3mm | Cross-section micrograph |
Where to Put This Information
- Drawing title block or general notes: Reference ISO 9013 grade and any part-wide defaults.
- Detail callouts on specific edges: Use a leader line to flag edges with tighter requirements — sealing flanges, locating slots, and mating faces need their own callout.
- Quality checklist (separate document): List each controlled edge, its acceptance limit, the measurement method, and the sampling plan. This document travels with the purchase order and is handed to your QC inspector.
- Approved limit samples: Physical reference parts showing acceptable minimum and clear rejection. More on this below.
Specifying Hole Edges Separately
Through-holes behave differently from external profile edges. Laser-cut holes 4 shrink slightly below nominal diameter due to kerf geometry and thermal expansion. For precision fits, specify:
- Hole diameter tolerance: +0.0/−0.1mm for precision fits; +0.1/−0.0mm for clearance
- Cylindricity: on material above 4mm, measure diameter at both entry and exit faces
- Minimum hole-to-edge distance: at least 1× material thickness to prevent blowout
What Causes Rough or Oxidized Laser Cut Edges, and How Can My Supplier Control Them?
When we conduct factory visits to audit laser cutting suppliers in China, we pay close attention to machine maintenance logs and assist gas supply setup. Most edge quality problems we find trace back to equipment drift or incorrect process parameters — not operator error or bad intent.
Rough laser cut edges are caused by incorrect feed rate, degraded beam focus, or contaminated optics. Oxidized edges on stainless steel result from using oxygen assist gas instead of nitrogen. Both are process parameter failures that your supplier must control through documented setup standards and scheduled preventive maintenance.

The Five Root Causes of Edge Quality Failure
Understanding root causes lets you ask the right questions during supplier audits and write corrective action requirements that actually address the problem.
1. Assist Gas: Type and Pressure
Assist gas blows molten material out of the kerf during cutting. Wrong gas type or insufficient pressure causes dross and oxidation.
- Oxygen assist on stainless steel produces a brown oxide layer. This compromises corrosion resistance 5 and weld quality. Specify "nitrogen assist, oxide-free edge" explicitly for all stainless steel parts.
- Low assist gas pressure on thick mild steel leaves dross fused to the bottom edge. This is the most common cause of dross failures on 6–12mm steel.
2. Focal Point Deviation
The laser beam focus 6 must align precisely at the correct depth within the material. As the lens degrades or the focal length setting drifts, the focus point shifts — producing tapered cuts, increased roughness, and inconsistent kerf width.
3. Feed Rate
Cutting too fast for the material thickness increases roughness and dross. Cutting too slow increases HAZ width. Both are parameter settings that should be locked in the machine's cutting program per material and thickness combination.
4. Nozzle Condition
The nozzle controls assist gas flow around the beam. A worn or misaligned nozzle produces uneven gas distribution — causing asymmetric dross and variable burr formation, especially on aluminum.
5. Lens Contamination
Fume and spatter accumulate on the focusing lens during high-volume production. Contamination scatters the beam, degrades focus quality, and reduces effective power — producing rough edges and inconsistent cut quality across a batch.
What to Require from Your Supplier
| Process Variable | Control Method | Audit Evidence to Request |
|---|---|---|
| Assist gas type | Locked in cutting program per material | Program parameter sheet |
| Assist gas pressure | Pressure gauge log or automated setting | Daily setup record |
| Focal point | Calibration procedure per material thickness | Calibration log, frequency |
| Feed rate | Locked program per material/thickness | Program parameter sheet |
| Nozzle condition | Replacement schedule | Maintenance log |
| Lens cleaning | Scheduled interval | PM log, cleaning record |
When edge quality degrades batch-to-batch, ask for the cutting parameter log for the affected batch. In mid-tier Chinese factories, machines are often run at high duty cycles without systematic preventive maintenance 7. Edge quality degradation is usually the first visible symptom of equipment drift.
Can I Request Edge Quality Photos as Part of My Pre-Shipment Inspection Report?
Our inspection team includes edge condition photos as a standard item in every sheet metal pre-shipment report we produce. It costs almost nothing to add and has resolved several supplier disputes where the physical parts were already shipped.
Yes. You can and should require edge quality photos in your pre-shipment inspection report. Specify that photos must be taken at 10× magnification on identified edge locations, with a calibration scale in frame. Define this requirement in your purchase order terms and your inspection checklist before production begins.

What to Specify in Your Inspection Report Requirements
A photo without context is hard to use in a dispute. Specify the following for each edge quality photo in your report:
- Location identifier: which edge or hole on which part (tie to drawing edge label or part serial number)
- Magnification: minimum 10× for burr and dross; 1× overview for general edge appearance
- Calibration scale: a ruler or reference object in frame — millimeter scale preferred
- Lighting: side-lit or raking light to reveal surface texture and burr projection
- Both faces: top entry edge and bottom exit edge, since burr and dross form on the exit side
Limit Samples in the Inspection Report
We recommend shipping approved physical limit samples to your supplier before production begins — and requiring your inspector to photograph those samples alongside the production parts during pre-shipment inspection. This gives you a direct visual comparison in the report and makes accept/reject decisions unambiguous.
Sampling Plan for Edge Photo Documentation
Not every edge on every part needs a photo. Define a practical sampling approach using AQL (Acceptance Quality Limit) 8 methodology:
| Edge Category | Photo Sampling Requirement |
|---|---|
| Critical edges (sealing, locating, mating) | 100% — photo every controlled edge |
| General cut edges | AQL 2.5 — sampled photos across the batch |
| Hole features (precision fit) | Photo entry and exit face per hole type |
| First article inspection | All edge categories, 100% photo coverage |
Using Photos After Shipment
If parts arrive with edge quality issues, inspection photos from pre-shipment give you three things: evidence that the problem existed before shipment (or did not), a basis for cost recovery from the supplier 9, and data to brief the next inspection. Without pre-shipment photos, edge condition disputes are almost impossible to resolve after the fact.
A well-documented pre-shipment inspection 10 report with edge photos becomes your single most important dispute-resolution tool when dealing with overseas suppliers.
Conclusion
Setting laser cut edge quality standards is a documentation task, not a technical mystery. Define five characteristics, reference ISO 9013, set numerical limits per material and thickness, specify your measurement methods, and require photos in your inspection report. Do this before production starts — not after the first rejection.
Footnotes
1. Overview of heat-affected zone metallurgy and why it matters for weld strength and fatigue. ↩︎
2. ISO 9013 standard page covering thermal cutting quality grades for perpendicularity and roughness. ↩︎
3. Keyence reference guide explaining Rz vs Ra surface roughness parameters and measurement methods. ↩︎
4. Fabricator article on laser cutting fundamentals including kerf geometry and hole diameter behavior. ↩︎
5. AZoM technical guide on stainless steel corrosion resistance and how oxidation compromises it. ↩︎
6. TRUMPF overview of laser cutting process parameters including beam focus and assist gas roles. ↩︎
7. Reliable Plant guide to preventive maintenance programs that prevent equipment drift in production. ↩︎
8. ASQ explanation of Acceptance Quality Limit (AQL) and how to apply sampling plans in manufacturing. ↩︎
9. U.S. International Trade Administration guidance on using international standards in procurement. ↩︎
10. QIMA (Asia Inspection) overview of pre-shipment inspection scope, process, and documentation. ↩︎