Skip to main content Skip to footer
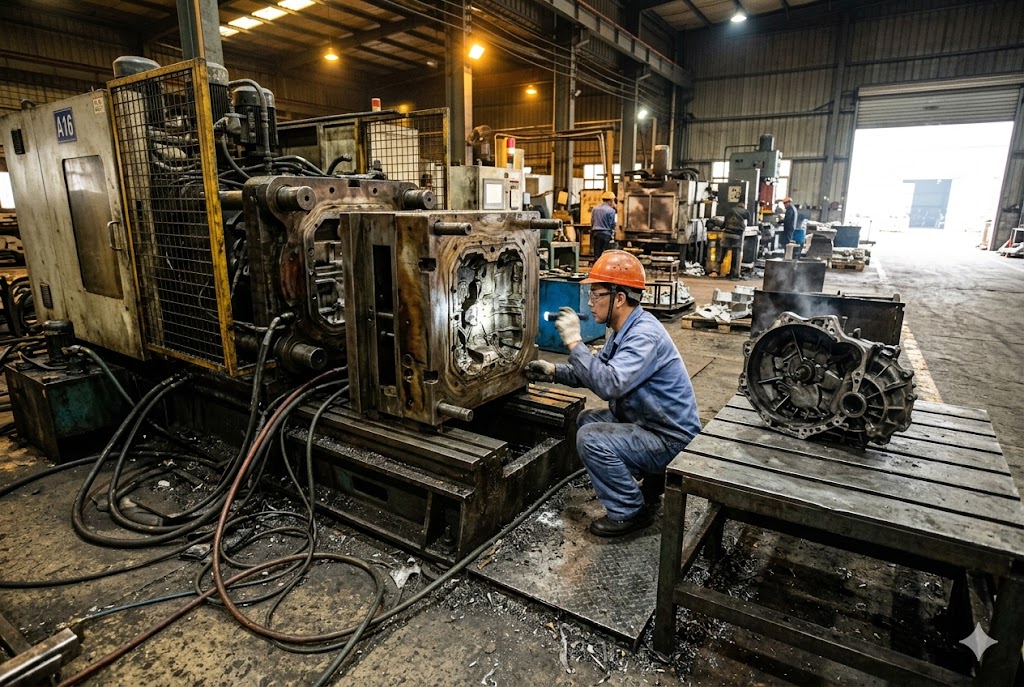
We have watched too many importers receive a tooling bill, approve it without question, and then face a second, unplanned tooling bill eighteen months later — right in the middle of a production run. The tool failed early. No warning. No budget. Downstream customers waiting.
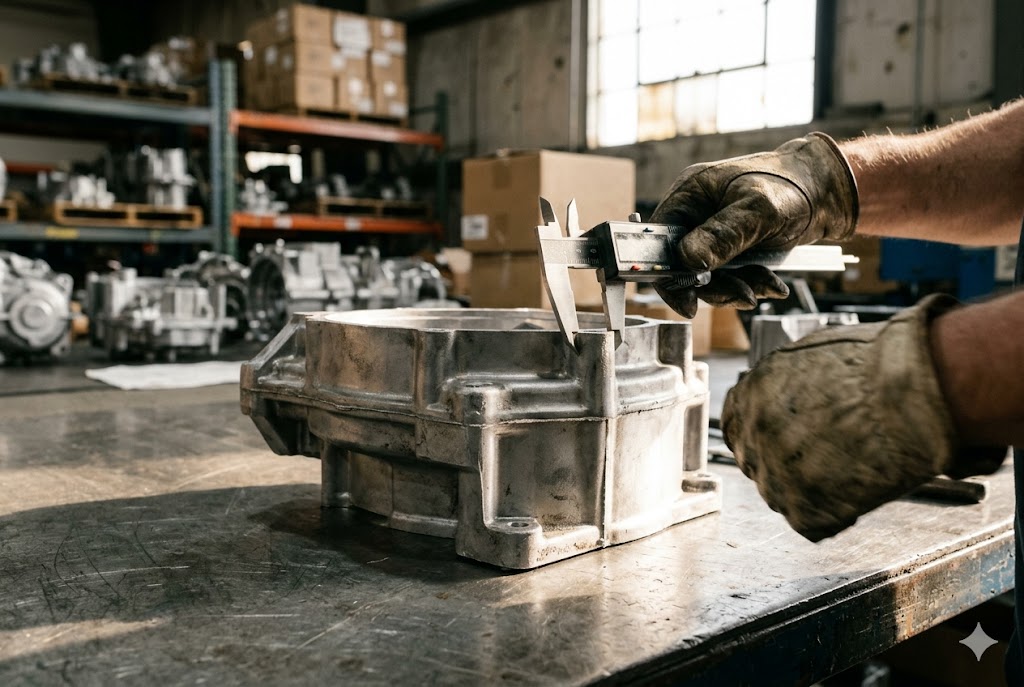
Tooling life in die casting depends on three things: the alloy you choose, how your part is designed, and how many parts you need over the program's lifetime. Zinc tooling typically lasts 500,000 to 1,000,000 shots. Aluminum tooling lasts 100,000 to 500,000 shots. Poor part design or mismatched volume planning can cut those numbers in half.
Understanding these three variables before you sign a tooling agreement is the difference between a smooth program and a costly surprise. Here is what you need to know.
Will Aluminum and Zinc Die Casting Create Different Tooling Wear for My Project?
Every time we pour molten metal into a cavity, heat, pressure, and friction attack the tool steel. The alloy you choose sets the baseline intensity of that attack on every single shot.
Aluminum die casting tools typically last 100,000 to 500,000 shots. Zinc tools routinely reach 500,000 to over 1,000,000 shots. The difference comes from casting temperature — aluminum melts near 660°C while zinc processes at around 419°C, creating far less thermal shock per cycle in zinc tooling.

Why Casting Temperature Matters So Much
Every shot is a thermal shock event. Molten metal enters a steel cavity at high temperature, the steel absorbs that heat, and then the part is ejected and the cycle repeats. Over hundreds of thousands of cycles, this creates micro-cracks in the cavity surface — a condition called heat checking 1. The higher the casting temperature, the more severe the shock, and the faster cracks form.
Aluminum casts at roughly 660°C in a cold-chamber machine. Zinc (Zamak) 2 casts at around 419°C in a hot-chamber machine. That 240°C difference may not sound dramatic, but across 300,000 shots, it translates into a fundamentally different fatigue load on the cavity steel.
Alloy Comparison Table
| Alloy | Typical Casting Temp | Machine Type | Typical Tool Life (Shots) | Relative Tooling Cost |
|---|---|---|---|---|
| Zinc (Zamak) | ~419°C | Hot-chamber | 500,000–1,000,000+ | Low per part |
| Aluminum (A380) | ~650°C | Cold-chamber | 100,000–500,000 | Moderate per part |
| Aluminum (A390) | ~650°C | Cold-chamber | 80,000–350,000 | Higher per part |
| Magnesium | ~620°C | Hot or cold chamber | 150,000–400,000 | Moderate per part |
The Hidden Risk Inside the Aluminum Family
Not all aluminum alloys wear tooling at the same rate. A380 is the most common grade 3 and offers a reasonable balance of fluidity and tooling friendliness. A390, a hypereutectic alloy with high silicon content, contains hard primary silicon particles that act like abrasive grit at gate zones and flow impingement areas.
If a Chinese supplier proposes an alloy substitution to reduce piece price, always ask for the silicon content. A 10–15% piece price saving can disappear entirely if tool life drops by a comparable percentage — and you will not discover this until the tool needs early replacement.
Switching Alloy: When It Is Worth the Conversation
If your part's function allows zinc instead of aluminum, switching can multiply tool life by three to five times. Zinc tooling can last significantly longer than aluminum equivalents 4, reducing total tooling cost per part significantly over a long program. The trade-off is that zinc is denser and has different mechanical properties. For parts where weight is critical or tensile strength requirements are high, aluminum remains necessary. For hardware, brackets, connectors, and decorative components, zinc is often viable and dramatically more economical over time.
How Can My Part Geometry Shorten Tooling Life Unexpectedly?
Most buyers focus on piece price and lead time when reviewing a quote. Part geometry barely comes up. But every design decision you make on the drawing creates a corresponding stress point inside the tool.
Part geometry affects tooling life through wall thickness variation, draft angles, corner radii, undercuts, and gate placement. Abrupt thickness transitions, zero-draft walls, and sharp internal corners are the three most damaging design patterns — each one creates localized stress that degrades specific areas of the tool far ahead of the overall shot count.

Wall Thickness: The Thermal Management Problem
When a thick section sits next to a thin section in your part, the two areas cool at very different rates. The thick section retains heat longer. The tool cavity near that thick section stays hotter than the surrounding steel. This creates a localized hot spot where thermal fatigue accumulates faster than anywhere else in the tool.
The practical guideline is to keep wall thickness variation within a 2:1 ratio across the part. Ideally, you keep it even tighter. This gives the cooling circuit — the water channels drilled through the tool block — a fighting chance to maintain even temperatures across the cavity.
Parts that come in with a 6mm boss sitting on a 1.5mm wall are a common problem. That 4:1 ratio creates a hot spot at the base of the boss that will show heat-check cracks in the cavity steel well before the tool reaches its designed shot life.
Draft Angle: The Ejection Force Problem
Draft angle 5 is the taper applied to vertical surfaces so the casting releases cleanly. Zero draft means the part grips the cavity. The tool must then apply brute force through ejector pins to push the casting free.
That repeated force hammers the ejector system on every shot. It can gall and score cavity surfaces. Over time, the parting line degrades. The standard minimum is 1° of draft per 25mm of cavity depth. Textured surfaces need additional draft — roughly 1° extra for every 0.1mm of texture depth.
Chinese suppliers will often build zero-draft walls exactly as drawn. They may mention it in a DFM report, or they may not. The die wear consequence is then absorbed silently over the production run, showing up as dimensional drift or surface quality problems long before you connect it to the original design issue.
Corner Radii: The Stress Concentration Problem
Sharp internal corners in your part become sharp re-entrant corners inside the cavity steel. Under thermal cycling, these corners experience stress concentrations two to three times higher than the surrounding material. They crack first.
Adding an internal fillet of just 1.0–2.0mm radius for aluminum parts, or 0.5–1.0mm for zinc parts, costs nothing in design time. It adds nothing meaningful to tooling build cost. But it can extend the life of those specific features by an order of magnitude.
Design Feature Impact on Tooling Life
| Design Feature | Tooling Damage Mechanism | Risk Level | Simple Fix |
|---|---|---|---|
| Wall thickness ratio >2:1 | Localized hot spots, thermal fatigue | High | Redesign transitions with gradual ramps |
| Zero draft on vertical walls | Excessive ejector force, cavity scoring | High | Add minimum 1° per 25mm depth |
| Sharp internal corners | Stress concentration, early cracking | High | Add 1–2mm fillets |
| Undercuts requiring slides | Additional wear per shot on slide components | Moderate | Redesign to eliminate where possible |
| Thick sections near gate | High-velocity impingement erosion | Moderate | Discuss gate relocation in DFM |
Slides and Undercuts: The Compounding Wear Problem
Every undercut in your design requires a side-action mechanism — a slide, lifter, or cam. Each one must extend, lock under injection pressure, and retract on every single shot. Each one is an additional wear mechanism beyond the basic fill-and-eject sequence.
A part with three undercuts has three additional wear systems cycling on every shot. Chinese suppliers build slides because they are necessary to produce the part. They rarely flag the long-term maintenance implications for buyers. If you are comparing two design options and one eliminates an undercut, the tooling maintenance case for simplification is real — even if the upfront tooling cost difference is small.
Practical guides on die casting draft angle design 6 confirm that addressing ejection geometry before cutting steel is the single most effective way to prevent premature cavity scoring.
Should My Annual Demand Influence How I Evaluate Tooling Durability?
This question almost never comes up in RFQ conversations. It should come up in every single one.
Yes, your annual production volume should directly shape your tooling specification. A tool designed for 100,000 shots running at 50,000 parts per year reaches end of life in two years. The same tool at 5,000 parts per year lasts twenty years — an unrealistic timeline. Matching designed tool life to realistic program volume and duration is the most overlooked factor in tooling investment planning.

The Shot Life Math Most Buyers Skip
Every die casting tool has a designed shot life — the number of injection cycles it is built to withstand before requiring major refurbishment or replacement. Chinese suppliers specify this in the tooling quotation, often without buyers paying much attention to the number.
The connection between shot life and your actual program is simple arithmetic. If your annual volume is 20,000 parts and the tool is rated for 200,000 shots, you have a ten-year theoretical tool life. But steel degrades with time as well as shot count. A tool sitting in a supplier's warehouse for ten years, running occasional low-volume orders, will experience corrosion, lubrication loss, and spring fatigue in the slide mechanisms independent of how many shots have been fired. The realistic serviceable life of a die casting tool is typically no more than seven to eight years, regardless of shot count.
On the other side of the equation, a tool rated for 100,000 shots running at 60,000 parts per year reaches end of life in under two years. If no refurbishment budget or replacement tool has been planned, you face an emergency re-tooling expense during an active production run — exactly when you can least afford the delay.
Volume and Alloy Together Drive the Right Investment Level
The correct tooling investment is a function of both alloy and volume. Here is a practical framework:
| Program Scenario | Recommended Tool Spec | Rationale |
|---|---|---|
| Zinc, 200,000 units/year, 10-year program | Multi-cavity H13 tool, 1M+ shot life, PVD coatings | High lifetime volume; mid-program failure would be catastrophic |
| Aluminum, 50,000 units/year, 5-year program | Single or dual cavity H13 tool, 300,000 shot life | Matches volume well; one planned refurbishment expected |
| Aluminum, 8,000 units/year, 3-year program | Single cavity P20 or H13 tool, 50,000–80,000 shot life | Low total volume; premium tooling investment is not justified |
| Prototype or NPI, <2,000 units | Soft tooling (aluminum mold) | Minimal investment; expect limited life, used to validate design |
High-Volume Production and Accelerated Thermal Fatigue
Running a tool at high throughput — three shifts, continuous production — means the steel never fully cools between sessions. Thermal fatigue accumulates faster per calendar month than the same shot count spread over a longer production period. Microcracks from heat checking propagate more quickly in steel that stays warm.
Suppliers under pressure to meet delivery targets on high-volume international programs routinely skip or delay preventive maintenance. Without a contractual maintenance requirement tied to shot count milestones — such as a cavity inspection and polish every 50,000 shots — buyers have no visibility into whether the tool is being maintained or simply run until it fails.
Specify maintenance intervals in your tooling agreement. Tie them to shot count. Ask your supplier to log the shot counter and provide a report at each maintenance milestone. This adds almost no cost to the program and gives you early warning of developing problems before they cause a production interruption.
What Can My Supplier Do to Extend Tooling Life and Reduce Risk for Me?
A good supplier does not just build a tool and run it. They manage the tool through its life — from steel selection to scheduled maintenance to coating strategies that add service life at low cost.
Suppliers can extend tooling life through better steel selection (H13 over P20 for aluminum), cavity surface coatings like PVD or nitriding, scheduled preventive maintenance tied to shot count milestones, proper cooling circuit design, and controlled process parameters. These measures can add 20–50% to a tool's effective life compared to a baseline build with no active management.

Steel Selection: The Foundation Decision
H13 hot-work tool steel 7 is the industry standard for aluminum and magnesium die casting tools. It combines good heat resistance with reasonable toughness. Premium grades of H13 with controlled chemistry and vacuum degassing produce more uniform properties and better fatigue resistance than commodity H13.
P20 is a lower-cost prehardened tool steel sometimes used for zinc tooling or prototype aluminum tools. It is cheaper to machine, but it is not suitable for long-run aluminum programs. Some Chinese suppliers quote P20 on aluminum tooling to reduce their build cost. If your tooling quote does not specify steel grade, ask.
For high-volume aluminum programs or for alloys with high silicon content, suppliers can use premium steels like Dievar or QRO 90, which offer superior heat-checking resistance compared to standard H13.
Surface Coatings That Add Life
Cavity coatings are a low-cost intervention relative to total tooling investment. Two are worth discussing with your supplier:
Nitriding 8 is a heat treatment process that hardens the outer surface layer of the cavity steel, improving wear resistance and reducing metal adhesion (soldering). It costs a few hundred dollars on a typical tool and can extend cavity life by 20–30% for aluminum applications.
PVD (Physical Vapor Deposition) coatings 9 — such as TiAlN or CrN — add an extremely thin, hard, low-friction surface layer to the cavity. They are particularly effective at gates and core pins where erosion and thermal fatigue concentrate. PVD adds more cost than nitriding but can extend life at critical features significantly.
Maintenance Practices That Protect Your Investment
| Maintenance Activity | Recommended Interval | What It Addresses |
|---|---|---|
| Cavity cleaning and inspection | Every 10,000–20,000 shots | Detects early heat-checking and buildup |
| Cavity polishing | Every 30,000–50,000 shots | Restores surface finish, removes early cracks |
| Slide and gib inspection | Every 20,000 shots | Checks wear on moving components |
| Full tool inspection and repair | Every 100,000 shots | Comprehensive assessment before critical failure |
| Shot counter log review | Each maintenance visit | Provides objective data on tool usage |
What You Should Contractually Require
Our experience with international programs shows that buyers who specify maintenance requirements in the tooling agreement have far fewer mid-program failures. The tooling agreement should state the maintenance intervals, who performs them, and what documentation is provided to the buyer. Shot counter logging is simple and adds no meaningful cost — ask for it as a standard requirement.
Additionally, require that major tool repairs or cavity replacements above a defined cost threshold require buyer approval before being executed. This prevents suppliers from undertaking expensive repairs without notification and then charging them back against your program unexpectedly.
Finally, confirm ownership of the tool. In most B2B import programs, the buyer pays for the tool and owns it. This should be stated explicitly in the contract, along with what happens to the tool if you change suppliers. Understanding the full A380 aluminum alloy profile 10 — including its silicon content, thermal behavior, and tooling implications — is essential background when negotiating these agreements with Chinese suppliers.
Conclusion
Alloy choice, part geometry, and production volume each affect tooling life in measurable ways. Addressing all three before you place a tooling order — and requiring contractual maintenance commitments from your supplier — is the most reliable way to protect your investment and keep your supply chain running without interruption.
Footnotes
1. Explains how heat checking (thermal fatigue cracking) forms in die casting cavities and how to prevent it. ↩︎
2. Overview of Zamak zinc die casting alloys, grades, melting point, and tooling life advantages. ↩︎
3. Detailed properties, silicon content, and casting characteristics of A380 aluminum die casting alloy. ↩︎
4. Comparison of zinc vs. aluminum tooling life, showing zinc dies lasting up to 10× longer. ↩︎
5. Comprehensive guide to draft angle design in aluminum die casting, including recommended ranges and ejection impact. ↩︎
6. Practical die casting draft angle guide covering zero-draft risks, cavity scoring, and design best practices. ↩︎
7. In-depth guide to H13 hot-work tool steel: composition, thermal fatigue resistance, and die casting applications. ↩︎
8. Guide to extending die casting mold life using nitriding, PVD coatings, and polishing strategies. ↩︎
9. Overview of PVD coating types (TiN, CrN, AlTiN) and their effectiveness in protecting die casting tools. ↩︎
10. A380 aluminum die casting guide covering silicon content, casting temperature, and tooling implications. ↩︎