Skip to main content Skip to footer
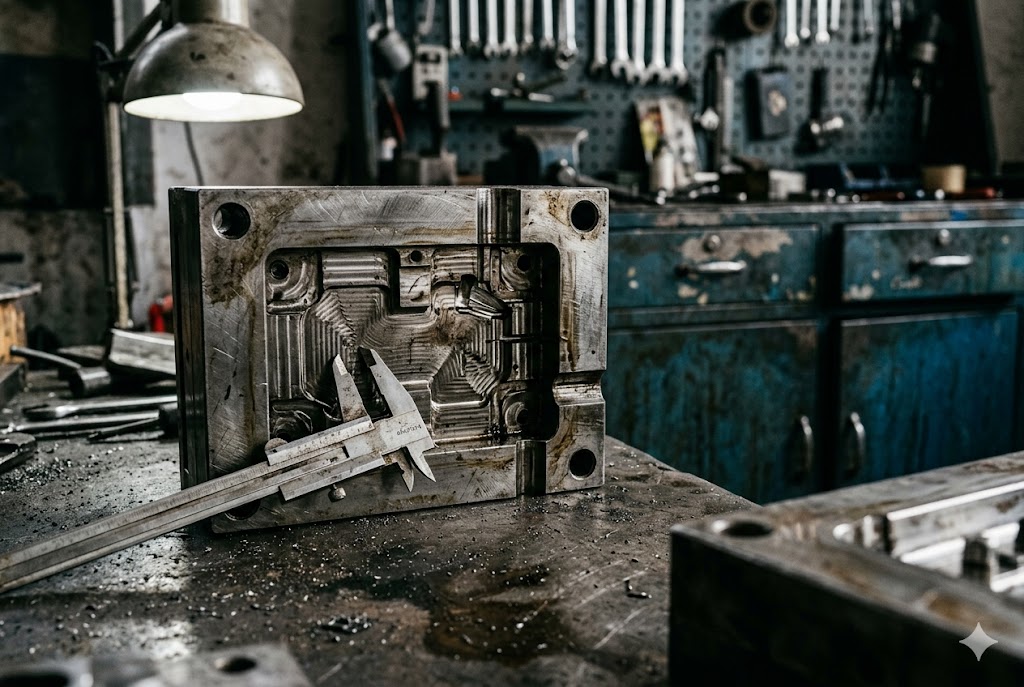
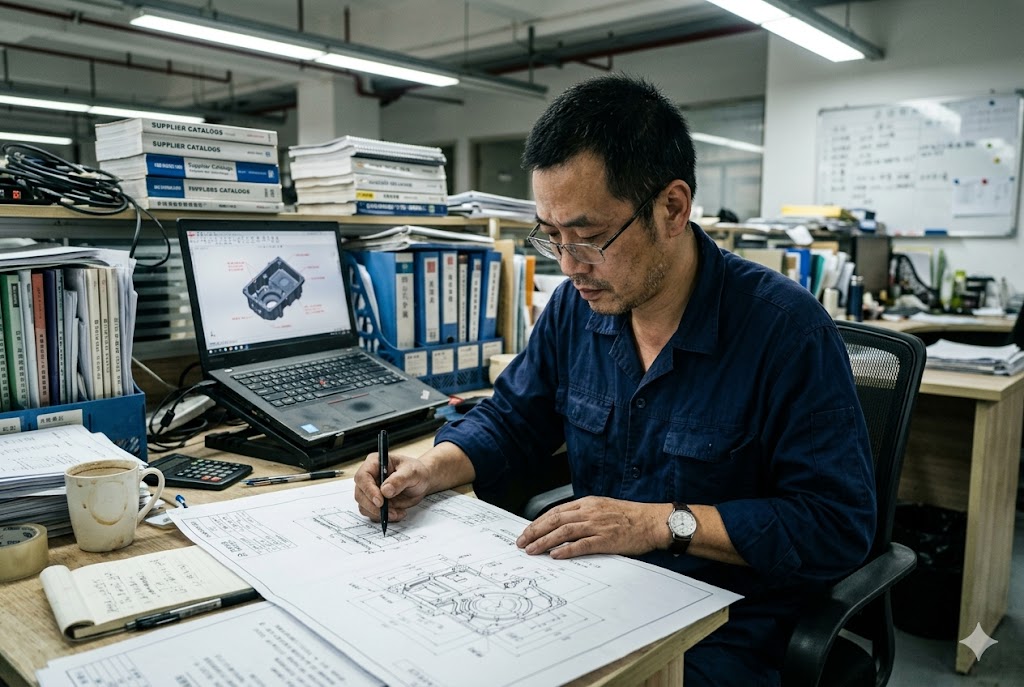
Every year, our team reviews hundreds of tooling packages from Chinese suppliers on behalf of our clients. Most problems we catch — warped parts, porosity, flash, sink marks — were already visible in the tooling drawings, long before any steel was cut.
When reviewing tooling design for a custom die casting project in China, focus on steel specification, parting line placement, gate and runner design, mold flow simulation output, venting layout, cooling channel design, ejector pin positions, slide mechanisms, mold base compatibility, and tooling ownership documentation. Each item directly affects part quality and your long-term supplier leverage.
These ten review areas are not equally obvious. Some require engineering judgment. Others are simply about asking the right questions. Either way, knowing what to look for before you approve a tool design saves you money, time, and frustration down the line.
Should I Ask How My Gate, Runner, and Ejection Design Will Affect Quality?
When we place orders on behalf of clients sourcing die cast parts from China, gating and ejection design are the two areas where we push back most often. Suppliers default to what is easy to machine — not what is best for your part.
Yes, you should absolutely ask how gate location, runner geometry, and ejector pin placement affect your part quality. Metal enters the cavity at the gate end at its highest temperature and density; the last-fill zone carries the highest porosity and cold shut risk. Ejector pins placed on cosmetic or sealing surfaces create marks that cannot be removed without secondary operations.

Why Gate Location Is a One-Time Decision
Once steel is cut, moving a gate is expensive. It often means scrapping the cavity insert and starting over. This is why gate review must happen at the drawing stage — not after the first sample.
The gate feeds metal into the cavity. Where the gate sits determines:
- Where metal is densest and lowest in porosity
- Where the last fill zone is (highest defect risk)
- How easily the part releases from the tool
- Whether weld lines form across functional surfaces
A common mistake is approving a gate location that points metal flow directly across a critical bearing bore or pressure-tight boss. In high-pressure die casting 1, the last-fill zone at the far end of that flow path will carry cold shuts and gas inclusions. If that zone happens to be a structural feature, your parts will fail in service.
What to Ask About Runner Geometry
Runner cross-section affects metal velocity and temperature drop between the shot sleeve and the gate. A runner that is too long or too narrow causes premature freezing. A runner that is too wide creates excess scrap volume without improving fill.
| Runner Parameter | Acceptable Range | Common Supplier Default | Risk if Wrong |
|---|---|---|---|
| Runner cross-section shape | Trapezoidal or round | Flat/rectangular | Premature freeze, cold shuts |
| Runner length | As short as practical | Often oversized | Temperature drop, porosity |
| Gate land length | 1.5–3mm for Al | Sometimes 5mm+ | Excessive gate vestige, tearing |
| Gate thickness | 1.5–3mm for Al | Often undersized | Premature gate freeze |
The trapezoidal runner cross-section 2 is preferred because it reduces turbulence in the molten metal channel while remaining practical to machine. A flat or rectangular cross-section — the default many Chinese toolmakers use — increases turbulence and worsens temperature drop over longer runner lengths.
Ejector Pin Placement and Your Surface Requirements
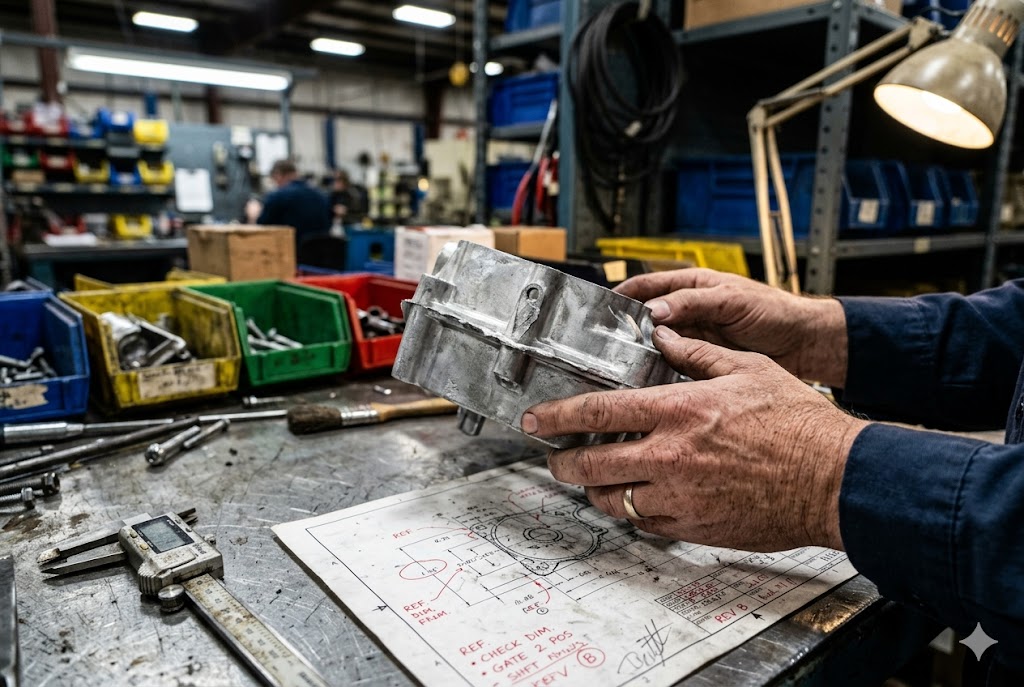
Chinese suppliers place ejector pins wherever is mechanically convenient. This frequently conflicts with your part drawing's surface finish callouts. Ejector pin placement in die casting 3 should prioritize non-visible, structurally reinforced areas such as ribs, bosses, or overflow zones — never cosmetic faces, sealing surfaces, or datum features.
Before approving the tooling design, overlay the ejector pin layout onto your part drawing and check every pin location against:
- Class-A cosmetic surfaces
- Sealing faces and O-ring grooves
- Datum surfaces used for downstream CNC fixturing
- Thin-wall sections that deform under ejection load
Relocating an ejector pin after the tool is built means welding the old pin hole, re-machining, and re-hardening the insert. It adds cost and schedule delay. It is always better to catch this at the drawing review stage.
The Fill Sequence Question
Ask your supplier directly: "Can you show me the fill sequence from your mold flow simulation?"
A supplier who has run simulation will show you a color-coded fill time plot. A supplier who has not run simulation cannot show you anything. That distinction tells you which supplier is managing your risk and which is asking you to pay for physical trial and error.
What Tooling Details Matter Most for My Part Shape and Appearance Requirements?
Our sourcing team has seen clients approve tooling designs without ever checking where the parting line falls on their cosmetic surfaces. The result is flash exactly where they cannot afford it. That is a preventable mistake.
For part shape and appearance, the most critical tooling details are parting line placement, slide and lifter mechanism design for undercuts, steel specification and heat treatment, and cooling channel layout. These four factors determine dimensional accuracy, surface quality, and how consistently the tool performs over its full production life.

Parting Line Placement
The parting line is where the two halves of the die meet. It is always visible on the finished part — either as a faint witness line or as flash if the tool wears or is not clamped correctly.
Where the parting line falls is a one-time design decision locked into the steel. You must review it before tooling approval. As discussed in parting line placement guidelines for die casting 4, surface finishes and the location of the gate, overflows, and vents must be planned together in the pre-approval phase to avoid blemishing critical faces.
Check these three things:
- Does the parting line cross any class-A cosmetic surface?
- Does it intersect any sealing face, datum surface, or critical bore?
- Is the mismatch tolerance specified in the drawing? (±0.10mm is a common benchmark for precision parts.)
A parting line placed on a non-functional, non-cosmetic surface is acceptable. A parting line crossing a sealing groove or a visible exterior face is not — and fixing it after the tool is built is nearly always impossible without a major rebuild.
Steel Specification and Heat Treatment
| Specification Item | What to Verify | Minimum Acceptable Standard |
|---|---|---|
| Steel grade | H13 or equivalent stated explicitly | H13; avoid unspecified "tool steel" |
| Steel origin | Imported vs. domestic Chinese mill | Imported preferred; domestic requires documentation |
| Heat treatment process | Vacuum hardening confirmed | Vacuum hardening, not salt bath |
| Hardness target | HRC value stated | HRC 46–52 for aluminum dies |
| Tempering | Double-temper required | Two temper cycles minimum |
| Material certificate | Certificate number on BOM | Required before final payment |
H13 tool steel 5 is an air-hardening chromium hot-work die steel widely specified for aluminum die casting tooling because of its combination of hot hardness, toughness, and resistance to heat checking. A tooling drawing that states only "H13" without specifying imported or domestic steel, vacuum hardening, and double-temper is an invitation to substitution. Domestic Chinese H13 from some mills has inconsistent carbide distribution. This shortens tool life and causes premature heat checking.
Slide and Lifter Mechanisms for Undercuts
Every undercut in your part requires a mechanical solution — typically a slide or lifter. Review each one for:
- Locking angle: Slides that lock at too shallow an angle blow back under injection pressure, creating flash at the slide parting face.
- Wear plate material: Wear plates should be a harder material than the slide body to allow replacement without rebuilding the entire slide.
- Cooling provision: Slides without dedicated cooling channels create localized hot spots. These hot spots cause premature soldering and erosion of the cavity surface.
- Clearance check: Confirm there are no interferences between slides, ejector pins, and cooling lines in both the open and closed position.
Cooling Channel Layout and Thermal Performance
Cooling channels that run through the center of large mold blocks — rather than conforming to the cavity geometry — create thermal gradients. These gradients cause dimensional drift, warpage, and premature heat checking. Research into intelligent cooling system design for aluminum die casting dies 6 confirms that conventional layouts often fail to achieve uniform temperature distribution, directly producing shrinkage porosity and deformation.
Ask your supplier for a cross-section view showing cooling channel proximity to the cavity surface in thermally critical zones: gate area, thick sections, and slide interfaces. Channels should typically be within 15–25mm of the cavity wall in these zones.
A well-designed cooling system should achieve temperature uniformity within ±10°C across the cavity face at steady state. If your supplier cannot define a thermal performance benchmark, ask them to provide cooling simulation output alongside the fill simulation.
How Can I Review Mold Design Even If I Am Not a Tooling Expert?
Most of our clients are purchasing managers, not tooling engineers. That is exactly why we developed a structured review approach — one that lets a non-expert ask the right questions and identify red flags without needing to interpret every line on a tooling drawing.
Even without deep tooling expertise, you can effectively review a mold design by requesting mold flow simulation output, venting and overflow layout documentation, a cooling circuit cross-section view, and a complete bill of materials with steel grades and heat treatment specifications. These four documents reveal whether the supplier has done the engineering work or is guessing.

The Four Documents to Request
You do not need to read every detail of a tooling drawing. You need four specific deliverables that tell you whether the supplier has done their engineering work.
| Document | What It Tells You | Red Flag if Missing |
|---|---|---|
| Mold flow simulation output | Fill sequence, air entrapment risk, last-fill zone | Supplier is guessing; you are funding their trial and error |
| Vent and overflow layout drawing | Whether air can exit the cavity before metal freezes | Gas porosity and burn marks are likely |
| Cooling circuit cross-section | Channel proximity to cavity; thermal uniformity | Warpage, dimensional drift, long cycle times |
| Bill of materials with steel spec | Steel grade, origin, heat treatment, hardness | Substitution risk; no basis for warranty claim |
How to Read a Mold Flow Simulation
You do not need to be a simulation engineer. You need to know what to ask for and what to look for.
Ask the supplier to show you these four outputs:
- Fill time plot — a color-coded map showing which areas of the cavity fill first (blue/green) and which fill last (red/orange). The last-fill zone should not overlap any functional or cosmetic critical feature.
- Temperature at end of fill — shows whether metal is still hot enough to fill completely without cold shuts.
- Air entrapment prediction — shows where trapped air is likely. These locations must have vent slots or overflow pockets.
- Solidification sequence — shows where shrinkage porosity risk is highest. If it overlaps a pressure-tight feature, the gate design needs adjustment.
MAGMASOFT 7, AnyCasting, and ProCAST all produce these outputs. If your supplier uses any of these tools, they can share screenshots or PDF exports without revealing any proprietary simulation setup.
Venting: The Most Overlooked Detail
Vent slots are shallow channels — typically 0.02–0.05mm deep for aluminum — machined at the parting line to allow air to escape as metal fills the cavity. If vents are absent, shallow, or poorly located, air cannot escape. It compresses, heats, and either burns the metal or leaves a gas pore.
The automatic design of overflow systems in die casting 8 confirms that conventional trial-and-error approaches to vent and overflow placement fail to account for actual flow direction inside the mold — making simulation-backed vent design essential for preventing gas defects.
When reviewing the tooling drawing, check that:
- Every last-fill location from the simulation has a vent slot or overflow pocket
- Vent depths are specified (0.02–0.05mm for aluminum)
- Overflow pockets are sized to capture contaminated first-shot metal
If the tooling drawing shows only one generic overflow pocket and no parting-line vent detail, flag this before approving. Inadequate venting is one of the most common and most preventable defect causes in Chinese die castings.
Asking the Right Questions as a Non-Expert
You do not need to write the vent specification yourself. You need to ask: "Can you show me where your vents are located and what depth they are designed to?"
If the supplier can answer this with a drawing reference, they have thought about it. If they cannot, they have not.
The same logic applies to every review item. Your job is not to do the engineering. Your job is to confirm that the supplier has done the engineering — and to document their answers so you have a basis for accountability if problems arise later.
What Questions Should I Ask Before I Approve Final Tool Design?
In our experience managing tooling projects across multiple Chinese suppliers, the approval stage is where buyers lose the most leverage. Once you release the tooling payment tranche, the supplier's incentive to accommodate change requests drops sharply.
Before approving a final tool design, ask about mold base compatibility with the production machine, tooling ownership documentation and serial number, steel material certificates, simulation output for fill and cooling, and ejector and slide assembly drawings showing open and closed positions. These questions lock in your rights and verify the engineering before you lose negotiating leverage.

Mold Base and Machine Compatibility
A tooling design is only as useful as its compatibility with the machine that will run it. Ask your supplier to confirm the following in writing:
- The model number and tonnage of the specific die casting machine assigned to your job
- That the mold base dimensions, tie bar spacing, and minimum/maximum mold height match that machine
- That the ejector pattern on the mold base matches the machine's ejector plate
A tool designed for a 630-tonne machine cannot run on a 400-tonne machine. Chinese suppliers sometimes design tools for equipment they have in theory — or for the largest machine in their facility — rather than the press that will actually run your production volume. Confirming machine assignment in writing before tooling approval removes this ambiguity.
Tooling Ownership Documentation
Your tooling documentation package is your asset record and your insurance policy. It should include:
- A drawing title block in your company name or your agreed ownership designation
- A unique tool serial number
- A complete bill of materials listing every major component by steel grade, hardness, and supplier
- Material test certificates for cavity insert steel
Mold tooling ownership with Chinese suppliers 9 is a well-documented risk: without a clear and enforceable manufacturing agreement, suppliers can effectively hold your tooling hostage when you attempt to transfer production elsewhere. This documentation is essential if you ever need to transfer the tool to another supplier, conduct an independent audit, or pursue a warranty claim.
Per best practices in international tooling contracts 10, ownership rights, upgrade provisions, and physical labeling requirements should all be specified in a written agreement before payment is made — never rely on verbal agreements or supplier goodwill. Suppliers who resist providing complete tooling documentation are creating deliberate lock-in. Complete documentation should be a non-negotiable condition of final tooling payment release.
The Approval Checklist
Use the following checklist before signing off on a final tooling design:
| Review Item | Question to Ask | Acceptable Answer |
|---|---|---|
| Steel specification | "What is the cavity steel grade, origin, and heat treatment?" | H13, imported, vacuum hardened, HRC 46–52 |
| Fill simulation | "Can you share fill time and air entrapment plots?" | PDF or screenshot from simulation software |
| Cooling simulation | "Can you show cooling channel cross-section and thermal uniformity?" | Within ±10°C across cavity face |
| Parting line | "Where does the parting line fall on our part model?" | Non-cosmetic, non-functional surfaces only |
| Gate location | "Where is the gate relative to our critical features?" | Gate end away from pressure-tight or structural features |
| Ejector pin layout | "Can you overlay ejector positions on our surface callout drawing?" | No pins on cosmetic, sealing, or datum surfaces |
| Vent specification | "Where are vents located and what is the specified depth?" | 0.02–0.05mm for aluminum; at every last-fill zone |
| Slide assembly | "Can you show each slide in open and closed position?" | Full assembly drawing with no interferences |
| Machine assignment | "Which specific press will run our production?" | Model number and tonnage confirmed in writing |
| Ownership docs | "Is the tool registered in our company name with a serial number?" | Yes, with complete BOM and material certificates |
Asking these questions before approval is not adversarial. It is professional. A capable supplier will have answers ready. A supplier who cannot answer them is telling you something important about how they will manage your production.
Conclusion
Reviewing tooling design before steel is cut is the single highest-leverage activity in a custom die casting project. The questions in this article cost you nothing to ask. The problems they prevent can cost you tens of thousands of dollars to fix. Ask early, document everything, and do not release final tooling payment until every item on your checklist is confirmed in writing.
Footnotes
1. Overview of high-pressure die casting processes, defect mechanisms, and porosity causes. ↩︎
2. Guide to runner cross-section shapes, trapezoidal design, and turbulence reduction in metal casting. ↩︎
3. Best practices for ejector pin placement in die casting, focusing on non-cosmetic and structural surfaces. ↩︎
4. How parting line location affects cosmetic surfaces, flash, and surface finish in metal die casting design. ↩︎
5. H13 chromium hot-work tool steel properties, heat treatment, and die casting applications. ↩︎
6. Research on cooling channel optimization for uniform thermal distribution in aluminum die casting dies. ↩︎
7. MAGMASOFT die casting simulation software for fill, porosity, and process optimization. ↩︎
8. Research on automatic overflow system design using flow simulation to prevent gas defects. ↩︎
9. Practical guide to tooling ownership risks with Chinese suppliers and how to protect transfer rights. ↩︎
10. Legal FAQ on tooling ownership, contracts, and IP protection in international manufacturing. ↩︎