Skip to main content Skip to footer

Last month a client sent me photos of burrs jamming O-ring seats on 5,000 Swiss-turned pins. The contract just said "deburr all edges." That vague line cost them a recall.
Deburring and chamfering standards in a Chinese Swiss CNC contract should include exact burr height limits by feature type, dimensioned chamfer callouts on the drawing, a physical reference sample, an approved inspection method, and a payment-hold clause tied to edge-condition non-conformance.
Here is how to write each piece into your drawing and contract, with examples you can copy.
What Deburring Specification (e.g., No Burrs Exceeding 0.05mm) Should I Include in My Part Drawing?
At our factory, we see this go wrong every week. A drawing note says "no sharp edges" and three different machines interpret it three different ways.
Your drawing should call out a maximum burr height for each feature type, such as 0.05mm on sealing surfaces and 0.1mm on bearing journals, plus a dimensioned chamfer size and angle like 0.3×45°, instead of a general note.
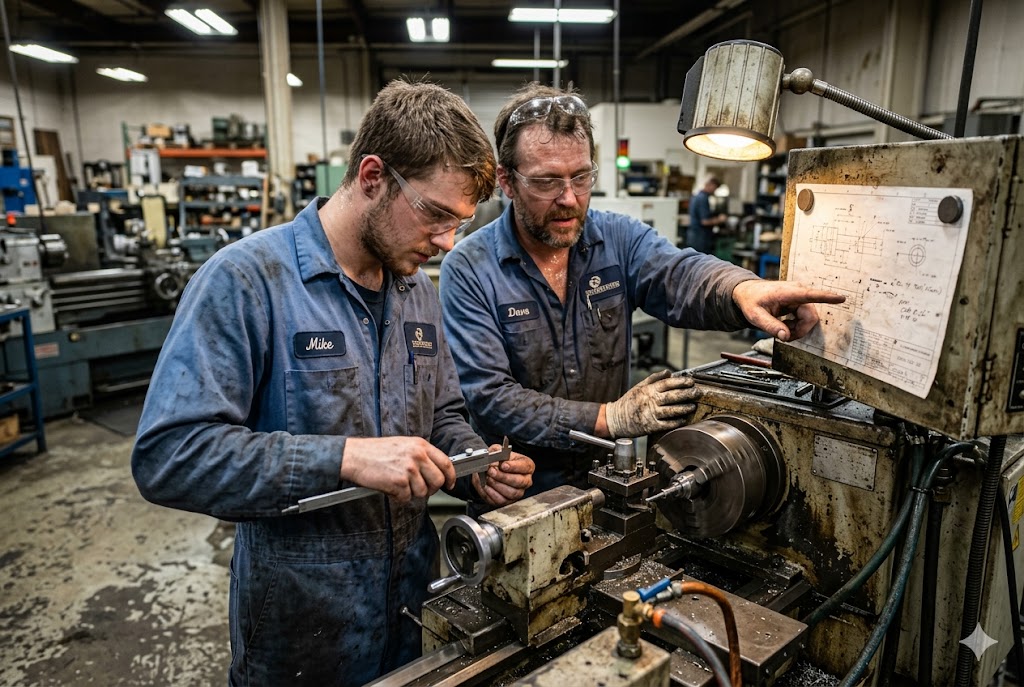
Plain notes cause plain problems. If your drawing says "deburr all edges," the supplier picks the cheapest method that passes a quick look. No global standard tells them what "deburr" means in millimeters. You have to write the numbers yourself. The international standard ISO 13715 1 exists specifically to define edge conditions on technical drawings, but it does not set default burr limits — you must add your own numerical values.
Three Edge Conditions You Must Separate
Many buyers lump every edge into one word: deburr. That is a mistake. Chinese suppliers read three different things from three different terms, and each one costs a different amount of money. As precision Swiss CNC machining 2 routinely achieves tolerances measured in microns, even small edge deviations can compromise fit and function.
| Edge Condition | What It Means | Typical Tolerance |
|---|---|---|
| Burr removal | Remove loose metal, no shape change | No measurable geometry |
| Edge break | Small controlled chamfer or radius | 0.2–0.5 mm |
| Functional chamfer | Dimensioned feature affecting fit or seal | Tight tolerance, e.g. 0.3×45° ±0.05 |
If you only write "deburr," you get the cheapest option: burr removal. If your part needs a functional chamfer for an O-ring seat, you must dimension it like any other feature, with size and angle on the print.
Set Burr Height Limits by Feature
A single tolerance for the whole part rarely works. Sealing surfaces need tighter control than an outer edge nobody touches. We ask clients to set three tiers in their quality plan. Many contract manufacturers only commit to breaking sharp edges by default — for example, Xometry's manufacturing standards 3 note that sharp edges will be broken unless otherwise specified, without defining a burr height. Your drawing must go further.
| Feature Type | Max Burr Height | Inspection Method |
|---|---|---|
| Sealing surfaces | ≤0.05 mm | Profilometer |
| Bearing journals | ≤0.1 mm | Tactile probe |
| Non-functional edges | ≤0.2 mm | Optical comparator |
Flag the High-Risk Features
Cross-holes, back-bored diameters, and blind-hole breakthrough points carry the highest burr risk on Swiss-turned parts. A general note will not travel down to the machine operator working on these spots. Use flag notes or a small edge-condition table right on the drawing, pointing straight at each risky feature. This single change stops more rework than almost anything else we tell clients to do.
How Do Chinese Factories Typically Deburr Small Swiss-Turned Parts — Manual, Vibratory, or Thermal?
Our production floor runs all three methods, often on the same part family. Picking the wrong one for a slender pin can bend it before it even reaches inspection.
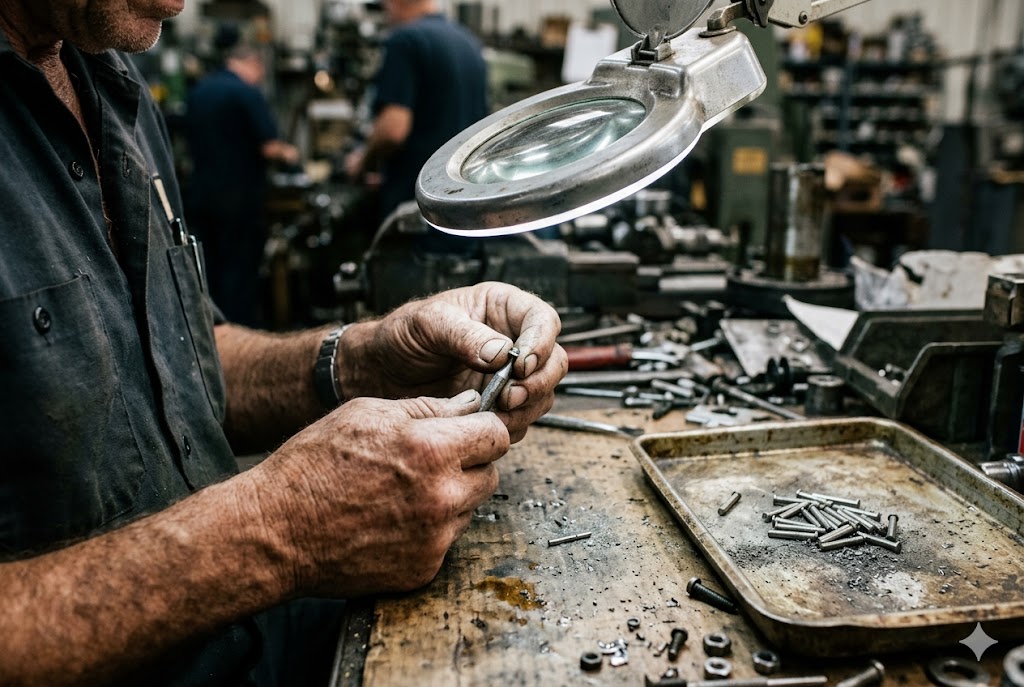
Chinese Swiss CNC suppliers typically use manual hand-deburring for cross-holes and tight features, vibratory tumbling for batches of small parts, and thermal deburring for hard-to-reach internal burrs, often switching methods between sample and production runs.
Comparing the Three Common Methods
Each method suits a different part shape and a different budget. Knowing the trade-offs helps you ask the right question before you approve a sample.
| Method | Best For | Risk |
|---|---|---|
| Manual hand tool | Cross-holes, blind features | Inconsistent operator skill, can bend slender parts |
| Vibratory tumbling | Batches of small, simple parts | Can round off sharp functional edges |
| Thermal deburring | Internal burrs, hard-to-reach spots | Can discolor or harden surface near the burr |
Vibratory finishing 4 is a mass-process method widely used to deburr, radius, and clean batches of small parts by placing them with abrasive media in a vibrating bowl. High frequencies and amplitudes can roll over burrs rather than remove them cleanly, which is a real risk on precision chamfered features. A more detailed breakdown of how cycle time and media choice affect edge outcome on CNC parts is covered in vibratory finishing guides specific to CNC machining 5 — the key lesson is that running a cycle longer than necessary can round off critical edges and shift tolerances on tight features.
Thermal deburring 6, also called the Thermal Energy Method (TEM), removes burrs by exposing parts inside a sealed chamber to a controlled combustion event that vaporizes only the thin burr material, leaving the base part unaffected. It is effective on cross-holes and internal passages, but it is a specialist process that adds cost and is not available at every Chinese Swiss CNC shop.
Why the Method Can Change Without You Knowing
A sample part often passes hand deburring done by a senior technician. The production run, weeks later, may switch to tumbling to save labor cost. Nobody tells you. The edge condition drifts, and you find out only when your customer complains. This is one of the most common gaps we see between sample approval and full production.
Require a Written Process Record
We tell every client to ask for one simple document at first article inspection: a written record stating which method was used on which feature. In-machine chamfer cycle, hand tool, or post-process tumbling — write it down. This record becomes your proof if the method changes later without your approval, and it gives your quality team something concrete to check against, rather than a guess based on how the part looks under a loupe.
How Do I Inspect Deburring Quality on Small-Diameter Precision Parts With Internal Features?
We hand small Swiss-turned parts to inspectors every day, and the same question always comes up: how do you measure something this small without damaging it?
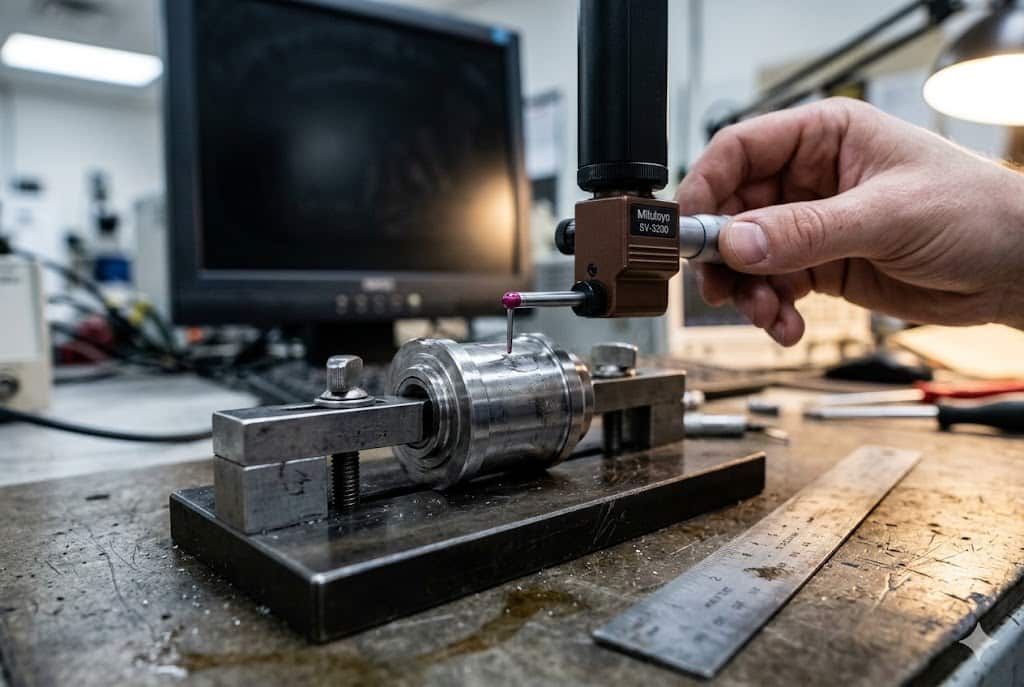
Inspecting deburring on small-diameter precision parts requires a tactile probe or profilometer for sealing and bearing surfaces, an optical comparator for general edges, and a physical golden sample approved by both sides to remove subjective judgment.
Why Internal Features Are Hard to Check
A cross-hole or a blind bore hides its burr from a simple visual check. You cannot always get a camera or a probe straight into a 2 mm hole. This is why the inspection method must match the feature, not just the part.
| Inspection Tool | Good For | Limitation |
|---|---|---|
| Tactile probe | Bearing journals, bores | Slow on high-volume lots |
| Profilometer | Sealing surfaces, fine burr height | Needs flat or accessible area |
| Optical comparator | Outer edges, visible chamfers | Cannot see inside blind holes |
| Borescope | Internal cross-holes | Needs trained operator, adds cost |
A profilometer 7 is the right tool for quantifying burr height on accessible sealing surfaces — it traces a stylus across the surface and gives a numerical roughness or peak value, removing the subjectivity of a visual pass/fail. Handheld contact profilometers used on the shop floor can measure Ra down to 0.005 µm and are the standard verification method for fine burr limits.
Use a Golden Sample, Not Just Words
Words like "smooth" or "no sharp edge" mean different things to different people. We ask every client to approve a physical limit sample early in the program. Keep one copy at your facility and one at the supplier's. Every incoming AQL 8 check should compare against that sample, not against a paragraph of text. This single step removes most of the back-and-forth arguments about whether a part passes or fails.
Check Before Surface Treatment, Not After
If your part gets anodized, passivated, or plated, inspect the edge condition before that treatment, not after. A coating can bridge over a small burr and hide it from view. Once the coating is on, you cannot tell a clean edge from a covered defect just by looking. Build this checkpoint into your incoming quality plan as a separate inspection stage.
What Downstream Assembly or Sealing Problems Can Result From Inadequate Deburring of Swiss CNC Parts?
I have seen a single stray burr stop an entire assembly line in the US. The part looked fine. It just would not seat against the O-ring.
Inadequate deburring on Swiss CNC parts can cause O-ring damage, leaking seals, jammed press-fit assembly, contamination from loose metal particles, and unexpected production stoppages at your customer's assembly line, leading to costly compensation claims.

Common Failure Points in the Field
A burr that seems tiny on a drawing can cause real damage once the part is in motion or under pressure. Sharp edges and burrs on metal components are a leading cause of O-ring damage during installation 9 — they tear or nick the elastomer as it slides into position, resulting in a seal that leaks from day one. The edge-finishing specification on your sealing surfaces is therefore a direct input to field reliability.
| Problem | Root Cause | Result |
|---|---|---|
| Leaking seal | Burr on sealing surface | Warranty claim, field failure |
| Stuck press-fit | Burr at bore entry | Assembly line stoppage |
| Contamination | Loose metal particle breaks free | Damage to bearings or electronics |
| Bent slender pin | Manual deburring force on thin part | Failed incoming CMM check |
Slender Parts Need Extra Care
Parts under about 4 mm in diameter can bend or lose concentricity from manual deburring force alone. This kind of distortion will not show up in the supplier's in-process records, because nobody measures straightness right after deburring. It shows up later, when your incoming CMM check rejects the lot. Ask your supplier to confirm in writing that deburring does not change straightness or concentricity on slender features. Practical edge finishing standards 10 used by precision fabricators document a specific process recipe — controlling media, cycle time, vibration speed, and amplitude — for each combination of material, part thickness, and required edge class, which is the same discipline you should demand from your Chinese supplier.
Build In a Payment-Hold Clause
We recommend a tiered response written straight into the contract. The first edge-condition failure triggers 100% incoming inspection at the supplier's cost for the next three shipments. The second failure triggers a corrective action report, with the root cause documented, before any related payment is released. This kind of clause changes supplier behavior fast, because it ties real money to edge quality.
Make the Drawing the Final Word
In any dispute, your contract should state that the dimensioned drawing and the approved golden sample are the binding reference, not a verbal description. This stops a supplier from calling a real defect "cosmetic" just to avoid rework, and it gives you a clear position if the case ever goes to arbitration.
Conclusion
Clear numbers, a golden sample, the right inspection tool, and a firm contract clause turn deburring from a guessing game into a controlled, measurable part of your supply chain.
Footnotes
1. ISO 13715 defines edge condition symbols and burr size notation for technical drawings. ↩︎
2. Overview of Swiss CNC machining capabilities, tolerances, and part size constraints. ↩︎
3. Xometry's default workmanship standards, including their edge-break policy without numerical limits. ↩︎
4. Wikipedia overview of vibratory finishing: process mechanics, media types, and edge-rounding risks. ↩︎
5. How cycle time and media selection affect edge condition on CNC machined parts in vibratory finishing. ↩︎
6. Explanation of the Thermal Energy Method (TEM) for removing internal burrs in sealed combustion chambers. ↩︎
7. How profilometers measure surface roughness and burr height using contact or optical stylus methods. ↩︎
8. Plain-language guide to AQL sampling plans used for incoming quality inspection of supplier shipments. ↩︎
9. How sharp edges and burrs on metal components tear or nick O-rings during assembly. ↩︎
10. How precision fabricators document process recipes for repeatable edge finishing across materials. ↩︎