Skip to main content Skip to footer
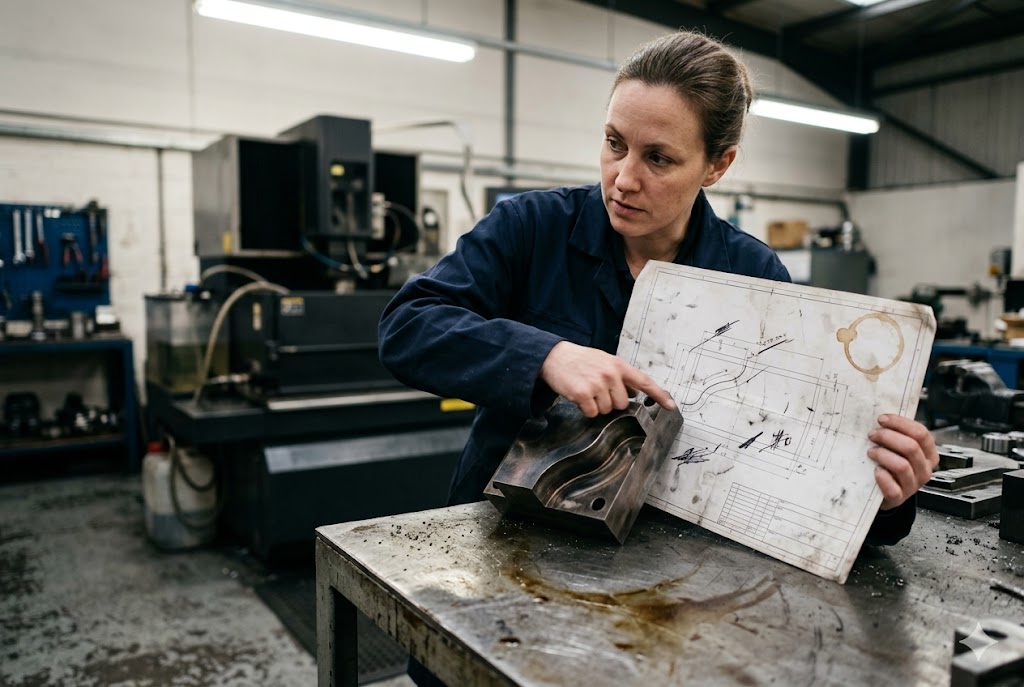
In our workshop, we see this problem often. A customer sends a perfect drawing. The part comes back slightly out of tolerance. Why? Heat treatment moved the metal.
Yes, heat treatment does affect final dimensions of wire EDM parts. Quenching causes internal stress and volume changes. When wire EDM cuts the part, this stored stress releases. The part can warp, shrink, or grow by small but measurable amounts, often 0.01mm to 0.1mm.
This is a real risk, but it is also a manageable one. Let's break down each part of this problem step by step.
How Much Dimensional Change Should I Expect After Quench and Temper on a Wire EDM Part?
When we run parts through our quench furnace, we always tell new clients the same thing. Do not expect zero movement. Steel is not rigid during heat treatment. It moves, and the amount depends on the steel grade, part shape, and section thickness.
Typical dimensional change after quench and temper ranges from 0.01mm to 0.1mm per 100mm of length, depending on steel grade and part geometry. Thin or asymmetric parts move more. Symmetric, thick parts move less. Cr12MoV and D2 tool steels tend to be more stable than plain carbon steels.
What Causes the Dimensional Change
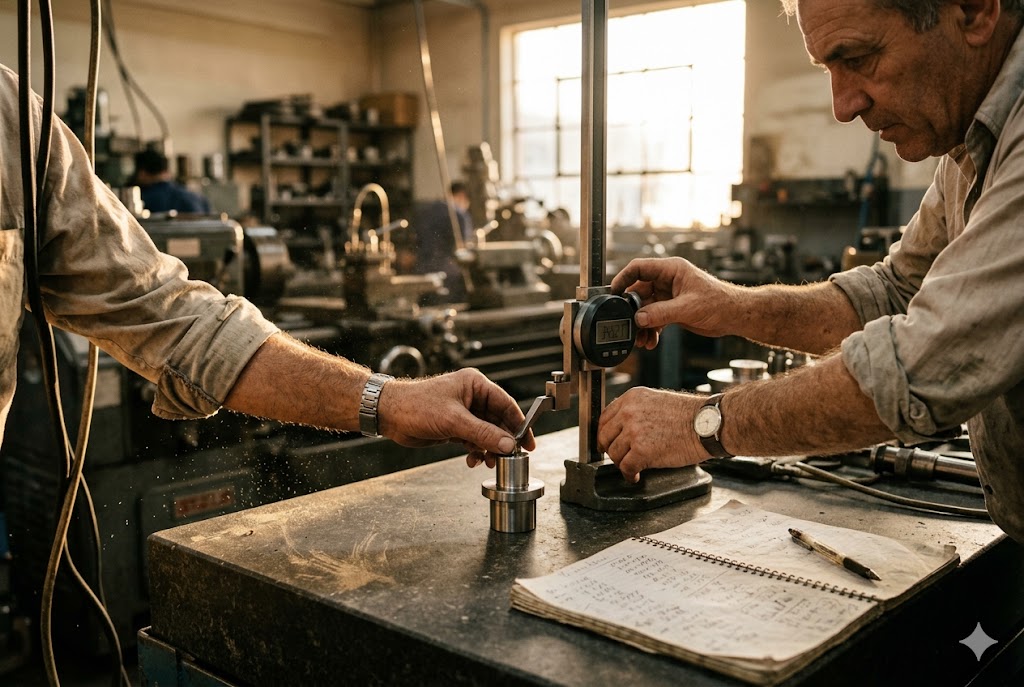
Quenching cools the steel fast. The outer surface cools first. The core cools later. This creates a temperature gap inside the part. The gap creates stress. When the steel transforms into martensite 1, its volume changes too. Martensite takes up more space than the original structure. This volume change is not even across the part. So the part bends, twists, or grows in an uneven way.
Steel Grade Matters a Lot
Some steels handle this better than others. High-carbon tool steels like T10 or unquenched Cr12 are risky. They have low ductility. When wire EDM cuts into them, old stress releases fast. This can cause cracks, not just dimension shifts. Alloy tool steels with good hardenability 2, such as Cr12MoV, D2, and H13, are much safer choices for parts that need wire EDM after hardening.
Typical Dimensional Change by Steel Type
| Steel Grade | Typical Movement per 100mm | Risk Level for Wire EDM |
|---|---|---|
| Plain carbon steel | 0.05mm – 0.15mm | High |
| T10 (high-carbon tool steel) | 0.05mm – 0.12mm | High (crack risk) |
| Cr12MoV 3 | 0.02mm – 0.06mm | Medium |
| D2 4 | 0.01mm – 0.05mm | Low to Medium |
| H13 | 0.01mm – 0.04mm | Low |
Part Shape Changes the Outcome Too
A simple round part shrinks or grows fairly evenly. A part with thin walls, slots, or asymmetric features moves unevenly. Thin fins, flexures, and slender punches are the worst case. Clamping in the fixture cannot fully stop this. When stress releases on one side more than the other, the part bends. This is why we always ask for the full 3D model, not just a 2D drawing, when a part has thin or uneven sections.
Should Heat Treatment Be Done Before or After Wire EDM to Minimize Distortion Risk?
This question comes up in almost every project kickoff call we have. Our answer is simple, but the reasoning behind it matters. Get this step wrong, and no amount of careful EDM programming will save the final dimensions.
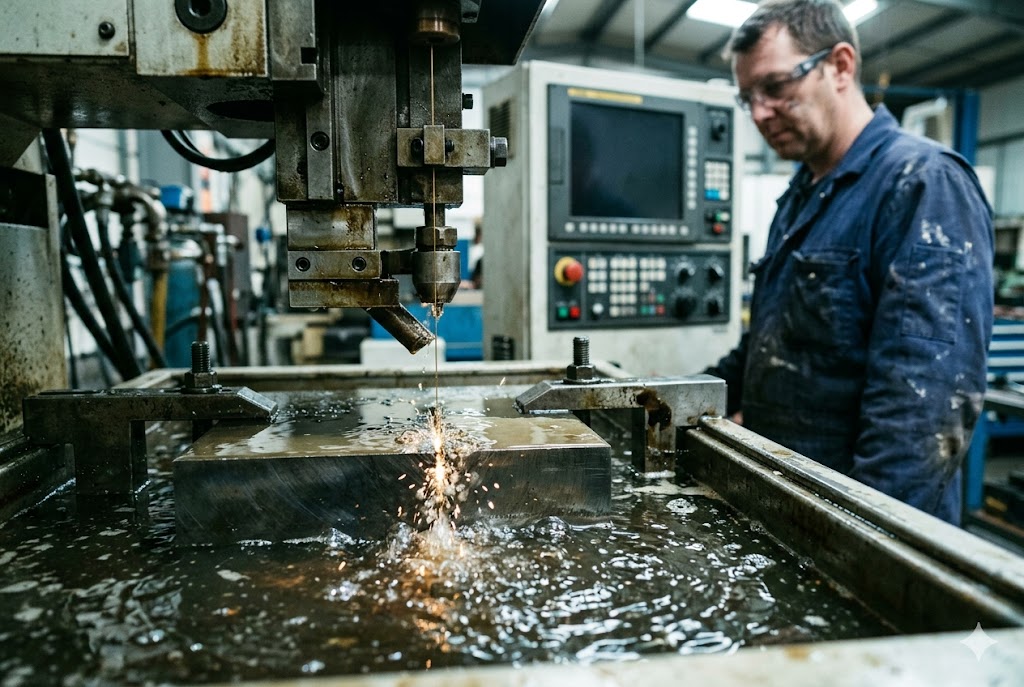
Heat treatment should be done before wire EDM, not after. This lets quench distortion happen and stabilize first. Wire EDM is then performed on the stable, hardened part, so no new dimensional movement happens after the final cut.
Why Order Matters So Much
Think about it this way. If you cut a part with wire EDM first, then heat treat it, the quench will still cause stress release. But now the part already has its final geometry. Any movement after that point is uncorrectable. The part is done. There is no more cutting to fix it.
If you heat treat first, the distortion already happened. The part may be slightly out of shape compared to the soft-stock drawing. But now wire EDM cuts the final, true geometry into the hardened, stable material. What comes out of the machine is the final dimension. No more surprises.
A Better Sequence for Complex or High-Precision Parts
For simple parts, "heat treat then EDM" is often enough. But for complex or tight-tolerance parts, we use a staged approach in our shop:
- Rough machine the part close to final shape
- Stress relief anneal 5 to remove machining stress
- Rough EDM cut to near-final geometry
- Re-temper or stabilize the part
- Finish EDM trim cuts to final dimensions
This staged method releases stress in small steps. Each step is controlled. The part does not have one big, uncontrolled spring-back. Instead, small movements happen at each stage, and the next stage corrects for them.
Comparing the Two Sequences
| Sequence | Risk of Post-Cut Movement | Best For |
|---|---|---|
| EDM first, heat treat after | High | Not recommended for tight tolerances |
| Heat treat first, then EDM | Low | Most production parts |
| Staged rough-anneal-EDM-temper-finish | Very Low | High-precision or complex parts |
A Note on the Recast Layer
Wire EDM also creates a thin recast layer on the cut surface. This layer is called the white layer 6. It is hard, brittle, and under high tensile stress. On its own, this layer does not cause large dimensional shifts. The effect is at the micron level, not the millimeter level. But it can cause micro-cracks on the surface, especially in high-carbon steels. Multiple light trim cuts reduce this layer. The first rough cut may leave a heat-affected zone of about 0.038mm. A second light skim cut can reduce that to around 0.0025mm. This matters more for surface integrity than for overall part size, but it is part of the full picture.
How Do I Account for Post-Heat-Treatment Dimensional Change in My Drawing Tolerances?
Our engineers often get drawings with very tight tolerances and no mention of heat treatment timing. This is a common gap. A drawing that only states a hardness value does not tell the full story.
To account for dimensional change, your drawing should specify the heat treatment state at the time of wire EDM, not just the final hardness. Add growth or shrinkage allowances based on steel grade and part geometry, and request EDM-after-heat-treatment as the default process.

Why Hardness Callouts Are Not Enough
A part can pass a hardness check, say HRC 58-60, and still be wrong in shape. This happens when a supplier does wire EDM on soft material first, then heat treats afterward. The hardness is correct. The dimensions are not. Visual inspection and hardness testing will not catch this. Only a full dimensional check against the drawing will show the problem.
What to Add to Your Drawing
We recommend adding a short note to the drawing that states the required process order. For example: "Heat treatment to be completed before final wire EDM cuts." This single line removes a lot of ambiguity. It tells every supplier, no matter their shop floor habits, what order to follow.
Building in Allowances
For grades with known shrink or growth patterns, you can add small allowances to critical dimensions. This gives the supplier room to hit final tolerance after heat treatment movement. The table below shows example allowance ranges we often discuss with clients, based on steel grade and predicted size change 7.
| Steel Grade | Suggested Allowance per 100mm | Direction of Change |
|---|---|---|
| Cr12MoV | +0.02mm to +0.05mm | Usually slight growth |
| D2 | +0.01mm to +0.04mm | Slight growth |
| H13 | +0.01mm to +0.03mm | Minimal change |
| Plain carbon steel | +0.05mm to +0.12mm | Growth or shrink, less predictable |
Why Process Records Matter
In our experience, the order of operations is often decided on the shop floor, not in the engineering office. Operators may choose to cut soft material first because it is easier on the wire and reduces wire breaks. This choice can be made without telling the customer. That is why we always ask suppliers for heat treatment certificates with timestamps, compared against EDM job records. This is not extra paperwork for its own sake. It is the only real proof that the process order matches what the drawing requires.
What Verification Step Confirms a Heat-Treated Wire EDM Part Still Meets Dimensional Specs?
Before any heat-treated part leaves our facility, it goes through one more check. This step catches problems that hardness testing and visual checks simply cannot find.
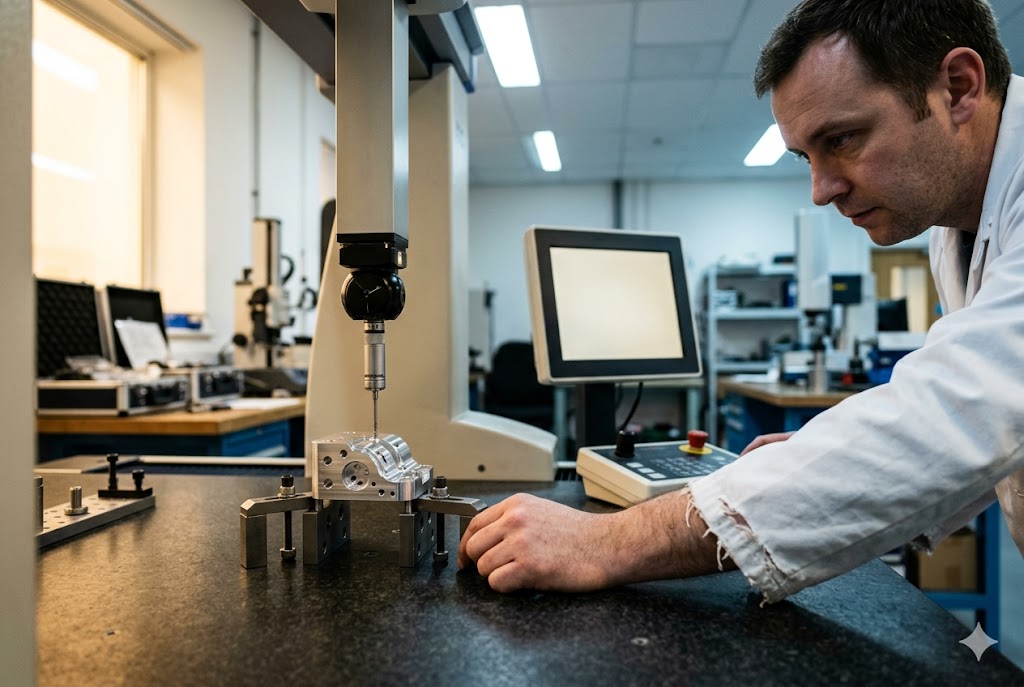
A full dimensional inspection using CMM or precision gauges, performed after heat treatment and after all wire EDM cuts, confirms a part meets specs. This check should compare every critical dimension on the drawing against the as-built part, not just sample features.
Why Timing of the Check Matters
If a part is measured before heat treatment, the measurement is meaningless for final acceptance. Movement can still happen after that point. The only check that matters is the one done after the part is fully processed, fully hardened, and fully cut. This is the state the part will be in when it ships.
Tools Used for Final Verification
Different tools suit different features. A coordinate measuring machine, or CMM 8, is best for complex geometry and tight tolerances. Height gauges and calipers work for simpler features. Surface plates and dial indicators help check flatness, which can shift after quenching.
Verification Methods Compared
| Method | Best For | Typical Accuracy |
|---|---|---|
| CMM | Complex geometry, multiple features | ±0.002mm to ±0.005mm |
| Height gauge | Linear dimensions, steps | ±0.01mm |
| Calipers | Quick checks, lower precision needs | ±0.02mm |
| Surface plate + dial indicator | Flatness, warping | Depends on indicator |
What a Full Inspection Report Should Include
A proper inspection report after heat treatment should cover every critical dimension on the drawing, not just a few easy-to-measure spots. It should also note the heat treatment batch and the EDM job number, so the two records can be matched later if needed. We attach this report with every shipment for heat-treated parts. This gives the customer a clear record that the final part, in its final state, matches the drawing.
Special Attention for Fatigue-Critical Parts
For parts used in fatigue-critical applications, such as those made from alloys like 4340 9, there is one more step worth knowing about. A light re-temper 10 after wire EDM can be done to restore ductility in the thin recast layer on the cut surface. This step is done at a lower temperature than the original temper, so it does not reduce the part's bulk hardness. It is not done to fix dimensions. It is done to improve the surface condition of the cut. This step, if used, should also be recorded and verified.
Conclusion
Heat treatment can move dimensions. The right process order, clear drawings, and full inspection keep wire EDM parts within spec.
Footnotes
1. Background on how martensitic transformation drives volume expansion and distortion during quenching. ↩︎
2. Overview of Cr12MoV composition, hardenability, and dimensional stability versus alternative grades. ↩︎
3. Manufacturer data on Cr12MoV cold-work tool steel properties and quenching/tempering behavior. ↩︎
4. Details on D2 tool steel's dimensional stability and recommended heat treatment ranges. ↩︎
5. Explanation of stress relief annealing and its role in improving dimensional stability before machining. ↩︎
6. Industry explainer on the EDM white layer, its formation, and effect on surface integrity. ↩︎
7. Guide to estimating steel size change during heat treatment across different grades and conditions. ↩︎
8. Reference on CMM operation, accuracy, and use in dimensional inspection workflows. ↩︎
9. Material data sheet covering 4340 steel composition, strength, and fatigue performance. ↩︎
10. Heat treatment guidance for 4340 steel relevant to tempering and surface restoration steps. ↩︎